Table of Contents
Advertisement
Quick Links
Advertisement
Table of Contents

Summary of Contents for Oki 59375102
-
Page 1: Installation Instructions
Hard Disk Drive (HDD) Installation Instructions 59375102... - Page 2 © 2007 by Oki Data Americas, Inc. All rights reserved. Every effort has been made to ensure that the information in this document is complete, accurate, and up-to-date. The manufacturer assumes no responsibility for the results of errors beyond its control. The manufacturer also cannot...
-
Page 3: Prepare The Printer
Prepare the Printer 1. Turn off the printer. 2. Detach the power cord from the back of the printer. 3. Detach the interface cable from the back of the printer. 4. Remove and save the thumbscrews at the top and bottom which hold the control board cover in place. - Page 4 5. Open the control board cover by pulling out and to the left.
-
Page 5: Install The Hard Disk Drive (Hdd)
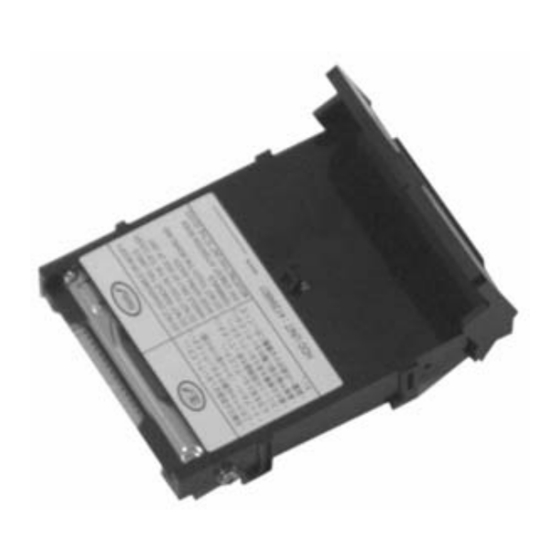
Install the Hard Disk Drive (HDD) 1. Locate the drive connector (1) on the control board:... - Page 6 2. Remove the hard disk drive from its shipping package. Caution! Observe antistatic precautions when installing the hard disk drive. 3. Lift the handle on the HDD and insert the connector firmly into the socket on the control board.
- Page 7 4. Press down on the handle to lock it in place.
-
Page 8: Complete The Installation
Complete the Installation 1. Close the control board cover and reinstall the screws at the top and bottom. 2. Reattach the interface cable, then the power cord. 3. Turn on the printer. -
Page 9: Verify The Installation
Verify the Installation Print the Configuration Report 1. Press Enter to access the printer menu. 2. Press Enter to select Configuration. 3. Press the ∇ key. 4. Press Enter to select Print Information. 5. Press Enter to select Execute. The Configuration report prints. 6. - Page 10 Activate the HDD in the Driver Windows Postscript Emulation Driver 1. First Windows Vista a. Click Start → Settings → Hardware and Sound → Printer. The Printer dialog box opens. Windows XP, Server 2003 a. Click Start → Settings → Printers and Faxes.
- Page 11 5. Select Installed. 6. Click OK and close the dialog box. PCL Driver 1. First Windows Vista a. Click Start → Settings → Hardware and Sound → Printer. The Printer dialog box opens. Windows XP, Server 2003 a. Click Start → Settings → Printers and Faxes.
- Page 12 Macintosh Mac OS 10.2, 10.3, 10.4 1. First OS 10.2 a. Activate Print Center: Local Hard Drive → Applications → Utilities → Print Center. OS 10.3, 10.4 Activate the Printer Setup Utility: Local Hard Drive → Applications → Utilities → Printer Setup Utility. 2.


