Table of Contents
Advertisement
Advertisement
Table of Contents

Summary of Contents for AEG SCS51810S1
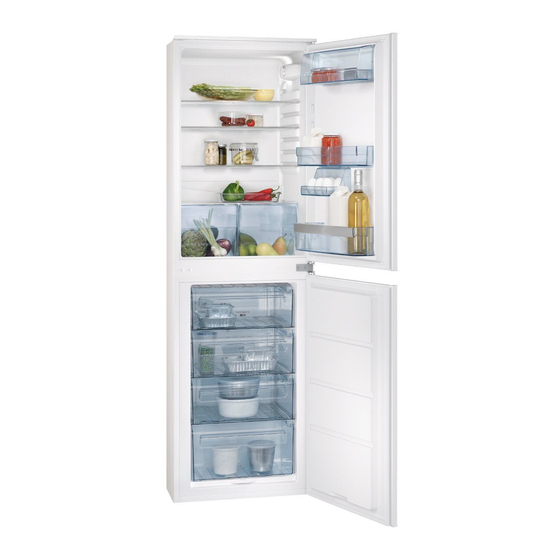
- Page 1 User Manual SCS51810S1 Fridge Freezer...
-
Page 2: Table Of Contents
10. TECHNICAL INFORMATION..................20 FOR PERFECT RESULTS Thank you for choosing this AEG product. We have created it to give you impeccable performance for many years, with innovative technologies that help make life simpler features you might not find on ordinary appliances. Please spend a few minutes reading to get the very best from it. -
Page 3: Safety Information
ENGLISH SAFETY INFORMATION Before the installation and use of the appliance, carefully read the supplied instructions. The manufacturer is not responsible if an incorrect installation and use causes injuries and damages. Always keep the instructions with the appliance for future reference. -
Page 4: Safety Instructions
Do not use water spray and steam to clean the • appliance. Clean the appliance with a moist soft cloth. Only use • neutral detergents. Do not use abrasive products, abrasive cleaning pads, solvents or metal objects. Do not store explosive substances such as aerosol •... - Page 5 ENGLISH • Do not change the specification of • Before maintenance, deactivate the this appliance. appliance and disconnect the mains • Do not put electrical appliances (e.g. plug from the mains socket. ice cream makers) in the appliance • This appliance contains hydrocarbons unless they are stated applicable by in the cooling unit.
-
Page 6: Operation
3. OPERATION 3.1 Control panel Temperature indicator LED FROSTMATIC indicator FROSTMATIC button Temperature regulator ON/OFF button 3.2 Switching on However, the exact setting should be chosen keeping in mind that the 1. Insert the plug into the wall socket. -
Page 7: Daily Use
ENGLISH 4. DAILY USE WARNING! Refer to Safety chapters. 4.1 Movable shelves The walls of the refrigerator are equipped with a series of supports so that the shelves can be positioned as desired. 4.2 Positioning the door shelves 2. Reposition the shelf as required. The model is equipped with a variable To permit storage of food packages of storage box which is fitted under a door... -
Page 8: Hints And Tips
4.5 Ice-cube production When the freezing process is completed, return to the required temperature (see This appliance is equipped with one or "FROSTMATIC Function"). more trays for the production of ice- In this condition, the cubes. refrigerator compartment Do not use metallic... -
Page 9: Hints For Energy Saving
ENGLISH • A faint click noise from the • the maximum quantity of food which temperature regulator when the can be frozen in 24 hrs. is shown on compressor switches on or off. the rating plate; • the freezing process takes 24 hours. 5.2 Hints for energy saving No further food to be frozen should be added during this period;... -
Page 10: Care And Cleaning
6. CARE AND CLEANING This operation will improve the WARNING! performance of the appliance and Refer to Safety chapters. save electricity consumption. 6.1 General warnings 6.3 Defrosting of the refrigerator CAUTION! Unplug the appliance before Frost is automatically eliminated from the... -
Page 11: Troubleshooting
ENGLISH 4. When defrosting is completed, dry About 12 hours prior to the interior thoroughly. defrosting, set a lower 5. Switch on the appliance. temperature, in order to After three hours reload the previously build up sufficient chill removed food into the freezer reserve for the interruption compartment. - Page 12 Problem Possible cause Solution The lamp does not work. The lamp is in stand-by. Close and open the door. The lamp does not work. The lamp is defective. Contact the nearest Author- ised Service Centre. The compressor operates Temperature is set incor- Refer to "Operation"...
-
Page 13: Installation
ENGLISH Problem Possible cause Solution Temperature cannot be set. The FROSTMATIC or Switch off FROSTMATIC or COOLMATIC function is COOLMATIC manually, or wait switched on. until the function resets auto- matically to set the tempera- ture. Refer to "FROSTMATIC or COOLMATIC function". The temperature in the ap- The temperature regulator Set a higher/lower tempera-... -
Page 14: Electrical Connection
Climate Ambient temperature class +10°C to + 32°C +16°C to + 32°C +16°C to + 38°C +16°C to + 43°C Some functional problems might occur for some types of models when operating outside of that range. The correct operation can only •... -
Page 15: Ventilation Requirements
ENGLISH 8.3 Ventilation requirements 7. Tighten the lower pin on the opposite side. The airflow behind the appliance must be sufficient. min. 5 cm 200 cm min. 200 cm 8. Install the lower door. 9. Tighten the middle hinge. 10. Install the spacer. 11. - Page 16 4 mm 44 mm 2. Install the appliance in the niche. 3. Push the appliance in the direction of the arrows (1) until the upper gap 7. Attach the appliance to the niche cover stops against the kitchen furniture.
- Page 17 ENGLISH 9. Attach the covers (C, D) to the lugs 14. Tighten the screws of the part (G) and the hinge holes. again. 15. Attach the part (H) to the part (G). 16. Disconnect the parts (Ha), (Hb), (Hc) and (Hd). 10.
- Page 18 23. Place the small square on the guide again and fix it with the screws supplied. 24. Align the kitchen furniture door and the appliance door by adjusting the part (Hb). 19. Open the appliance door and the kitchen furniture door at an angle of 90°.
-
Page 19: Noises
ENGLISH 9. NOISES There are some sounds during normal running (compressor, refrigerant circulation). HISSS! BRRR SSSRRR! SSSRRR! HISSS! HISSS! -
Page 20: Technical Information
BLUBB! BLUBB! CRACK! CRACK! 10. TECHNICAL INFORMATION 10.1 Technical data Dimensions of the recess Height 1780 Width Depth Rising time Hours Voltage Volts 230 - 240 Frequency The technical information are situated in internal side of the appliance and in the the rating plate, on the external or energy label. - Page 21 ENGLISH...
- Page 22 www.aeg.com...
- Page 23 ENGLISH...
- Page 24 www.aeg.com/shop...


