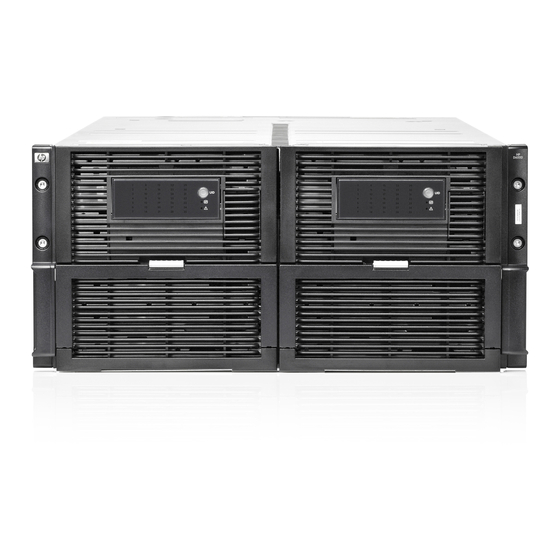
HP D6000 Installation Instructions Manual
Disk enclosure
Hide thumbs
Also See for D6000:
- Maintenance and service manual (54 pages) ,
- Specification (14 pages) ,
- Quickspecs (14 pages)
Summary of Contents for HP D6000
- Page 1 HP D6000 Disk Enclosure Installation Instructions Part Number: 682252-001 September 2012 Edition: 1...
-
Page 2: Rack Warnings
Rack warnings WARNING: To reduce the risk of personal injury or damage to the equipment, be sure that: • The leveling jacks are extended to the floor. The full weight of the rack rests on the leveling jacks. • The stabilizing feet are attached to the rack if it is a •... -
Page 3: Site Requirements
You must fully understand the static and dynamic load carrying capacity of the rack and be sure that it can accommodate the weight of the D6000. You must install a 1U tray beneath the D6000 to ensure • proper support. - Page 4 Slide the front end of the rail to the rack front column. When fully seated, the rack rail will lock into place. Repeat the procedure for the right rack rail. WARNING: The enclosure is very heavy. To reduce the risk of personal injury or damage to the equipment: •...
-
Page 5: Installing The Hard Drives
The installation is complete. Installing the hard drives A D6000 supports up to 35 hard drives per storage drawer. For weight-distribution purposes and best-possible cooling, populate hard drive bays from the rear to the front, starting with the highest device bay ID number. To properly distribute air flow and cool the installed drives, make sure that all drive bays are populated with a drive or a drive blank. - Page 6 Pinch hazard—Keep hands out of front and rear of chassis when closing hard drive drawers. CAUTION: To prevent improper cooling and thermal damage, do not operate the D6000 for an extended period of time with the drawer open. CAUTION: To prevent improper cooling and thermal damage, do not operate the D6000 unless all bays are populated with either a component or a blank.
- Page 7 Remove the hard drive blank. Prepare the hard drive.
- Page 8 When all drives have been installed, close the hard drive drawer. Installing optional I/O modules The D6000 ships with two I/O modules, one for each storage drawer. Installing additional I/O modules expands support from single-domain to dual-domain. CAUTION:...
- Page 9 To remove the I/O blank, release the I/O blank handle, pull the I/O blank handle down until it ejects the I/O blank, and then remove the I/O blank from the enclosure. To install the I/O module, insert the I/O module into the enclosure and push the I/O module handle up.
- Page 10 6G capable. Mini-SAS I/O cables The D6000 does not ship with any I/O cables, but supports the use of 2.00 m (6.56 ft) mini-SAS cables. For information about the supported cables, see the QuickSpecs on the HP website (http://www.hp.com/go/d6000/quickspecs).
-
Page 11: Power Cords
HP BladeSystem Deployment Guide for Solutions with 6Gb SAS BL Switches • and External SAS Storage Enclosures Power cords The power cord should be approved for use in your country. The power cord must be rated for the product and for the voltage and current marked on the electrical ratings label of the product. -
Page 12: Legal Notices
Legal notices © Copyright 2012 Hewlett-Packard Development Company, L.P. The information contained herein is subject to change without notice. The only warranties for HP products and services are set forth in the express warranty statements accompanying such products and services. Nothing herein should be construed as constituting an additional warranty.


