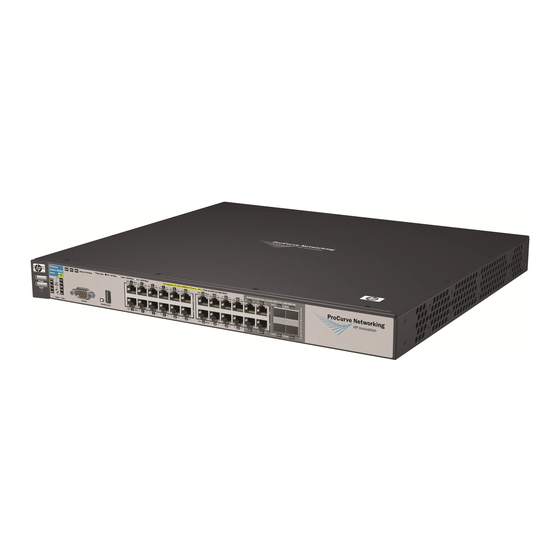
HP ProCurve 3500yl Replacement Instructions
Fan tray replacement
Hide thumbs
Also See for ProCurve 3500yl:
- Access security manual (778 pages) ,
- Release notes (219 pages) ,
- Specifications (16 pages)
Advertisement
Quick Links
Fan Tray Replacement Instructions
for the ProCurve Series 3500yl and 6200yl Switches
The fan tray is not hot swappable. Replacing the fan tray must be done during scheduled downtime.
When a fan fails the Fan Status LED on the switch will blink simultaneously with the switch Fault
LED. In this case, the entire fan tray needs to be replaced. Individual fans cannot be replaced.
W A R N I N G
To avoid the possibility of electric shock, all power cords must be disconnected from the
switch before starting this procedure.
To replace the fan tray:
1.
Disconnect the power cable from the switch.
2.
Using a Torx T-10 screwdriver remove all the screws securing the top of the switch, and remove
the top.
3.
Remove the retaining screw securing the fan tray, disconnect the fan tray cable connector, and
lift the fan tray assembly out.
4.
Install the new fan tray assembly, reconnect the fan tray cable connector, reinstall and tighten
the retaining screw.
Retaining
Screw
Cable
Connector
Advertisement

Summary of Contents for HP ProCurve 3500yl
- Page 1 Fan Tray Replacement Instructions for the ProCurve Series 3500yl and 6200yl Switches The fan tray is not hot swappable. Replacing the fan tray must be done during scheduled downtime. When a fan fails the Fan Status LED on the switch will blink simultaneously with the switch Fault LED.
- Page 2 Reinstall the top of the switch. Align the top cover pin with the hole. Top Cover pin Alignment Hole Reinstall and tighten all the screws securing the top. Reconnect the power cable to the switch. © Copyright 2006 Hewlett-Packard Develop- ment Company, LP.


