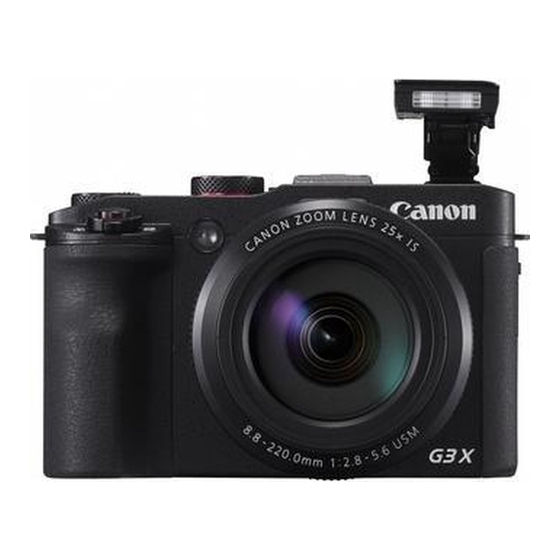
Canon PowerShot G3 X Manual
Using an android smartphone to control the camera during remote shooting
Hide thumbs
Also See for PowerShot G3 X:
- Error code list (310 pages) ,
- User manual (219 pages) ,
- Service manual (185 pages)
Advertisement
Quick Links
Advertisement

Summary of Contents for Canon PowerShot G3 X
- Page 1 Using an Android Smartphone to control the camera during remote shooting (PowerShot G3 X)
- Page 2 You can check the shooting screen and shoot remotely using your smartphone. IMPORTANT In the following explanation, smartphone setting procedures are indicated by the icon, and • camera setting procedures are indicated by the icon. The camera works in [ ] mode during remote shooting.
- Page 3 Step 1: Confirming the OS version 1. Check the smartphones specifications. The camera can connect via Wi-Fi to smartphones running the following operating systems: Android OS ( Smartphones/Tablets ) 2.3.3-2.3.7 / 4.0 / 4.1 / 4.2 / 4.3 / 4.4 / 5.0 (as of February, •...
- Page 4 Step 2: Installing Camera Connect on the smartphone Download and install Camera Connect from Google Play. If CameraConnect is already installed on the smartphone, please proceed to Step 3: Connecting the camera to the smartphone. NOTE The example procedure is shown on an Android smartphone installed with Android OS 4.0. •...
- Page 5 IMPORTANT The Camera Connect application is free, but separate connection charges for accessing Google Play may be applicable. A Google account is necessary to download Camera Connect. It is not possible to download Camera Connect to smartphones not equipped with GooglePlay. Downloading the application via a cellular network may take longer than downloading via Wi-Fi.
- Page 6 4. Choose [Camera Connect] from the displayed search results, and install it on the smartphone. After installation has been completed, tap the [Home] button to return to the Home Screen. Step 3: Connecting the camera to the smartphone 1. Touch the menu key, and then touch [Settings] ( 2.
- Page 7 4. Secure the camera. Once remote shooting begins, the camera lens will come out. Lens motion from zooming may also move the camera out of position. Keep the camera still by mounting it on a tripod or taking other measures. 5.
- Page 8 7. Press the [ ], [ ], [ ], [ ] buttons to choose [ ], and then press the [ ] button. 8. Press the [ ], [ ] buttons to choose [Add a Device], and then press the [ ] button.
- Page 9 9. The cameras SSID is displayed on the screen. 10. Choose the SSID (network name) displayed on the cameras screen from the list of detected access points displayed on the smartphone. NOTE For better security, you can require password input by accessing MENU and choosing [ 4] tab [Wi-Fi Settings] [Password]...
- Page 10 11. Tap the [Canon CC] application icon ( ) on the smartphone to start Camera Connect. 12. Press the [ ], [ ] buttons to choose the smartphone 's nickname, and then press the [ button. 13. Press the [...
- Page 11 14. The following screen appears. 15. Once you have connected to the smartphone, a screen like the one below will appear.
- Page 12 Step 4: Using the smartphone to control the camera during remote shooting 1. In Camera Connect on the smartphone, choose [Remote shooting].
- Page 13 IMPORTANT The camera lens will come out. Do not press near the lens, and make sure no objects will obstruct it. 2. Once the camera is ready for remote shooting, a live image from the camera will be displayed on the smartphone.


