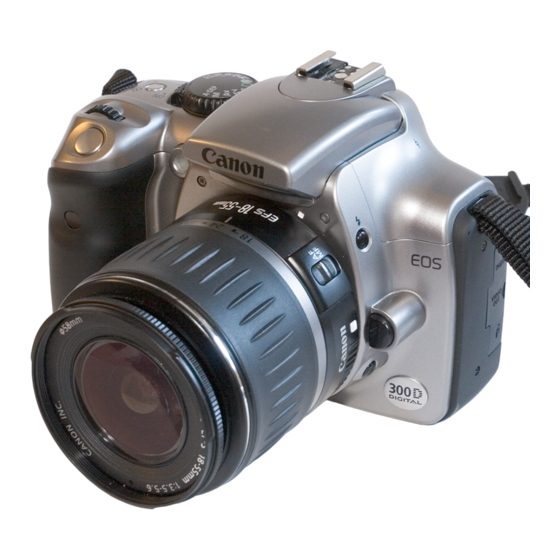
Canon EOS 300D Software Manual
Canon eos 300d: software guide
Hide thumbs
Also See for EOS 300D:
- Instruction manual (141 pages) ,
- Software instruction manual (182 pages) ,
- Owner's manual (15 pages)
Table of Contents
Advertisement
Quick Links
Download this manual
See also:
Instruction Manual
Advertisement
Table of Contents

Summary of Contents for Canon EOS 300D
-
Page 1: Direct Printing
Direct Printing from PictBridge-compatible Printers This camera is compatible with PictBridge for direct printing with PictBridge-compatible printers. Connect the camera to a PictBridge-compatible printer to print nice photos easily. English Edition... -
Page 2: Preparing To Print
Preparing to Print If you have a CP-series Canon Card photo printer, see “Camera Direct Printing” to print photos. Camera Settings On the menu, set [Communication] to [PTP]. Before connecting the camera to the computer, set the [Communication] to [Normal]. If it is set to [PTP], communications with the computer might not be possible. -
Page 3: Press The Button
In step , if you hear long beeps, it means something is wrong with the printer. To find out what’s wrong, do the following: Press the <] > button to playback an image. Then do step <p>) and step (Print the image) on the next page. An error message will then appear on the LCD monitor. - Page 4 Printing You do all the printing operations with the camera. h images cannot be printed with PictBridge. Connected printer icon Print setting screen The Paper Size, Type, and Page Layout you have set will be displayed. * Depending on your printer, certain settings like the date imprinting and trimming might not be available.
-
Page 5: Setting The Printing Options
Setting the Printing Options Depending on your printer, certain settings might be different or might not be available. For details, refer to your printer’s instruction manual. Date imprinting About the [Default] Setting [Default] sets the printer’s own default settings as set by the printer’s manufacturer. - Page 6 Setting the Printing Options Setting the Trimming You can trim the image and print only the trimmed portion. Set [Paper Settings] beforehand. If you trim the image and then change the [Paper Settings], you may have to set the trimming again. Changing the trimming frame size Press the <7>...
- Page 7 • If [Borderless] (p.9) is set, certain printers might not print the image in the way you trimmed it. • The smaller the trimming frame, the rougher the image quality will be. • When setting the [Trimming], look at the camera’s LCD monitor. The [Trimming] setting will be canceled after the printing is completed or if you execute [Cancel].
-
Page 8: Select [Paper Settings]
Setting the Paper and Page Layout Set the <T> (Paper Size), <Y> (Paper Type), and <U> (Page Layout). Depending on your printer, certain settings might be different or might not be available. For details, refer to your printer’s instruction manual. TSetting the Paper Size YSetting the Paper Type Select [Paper Settings]. - Page 9 About the Paper Type If you are using a Canon printer with Canon paper, set the respective paper type as follows: Photo Photo Paper Plus Glossy Fast Photo Photo Paper Pro Default Photo Paper Plus Glossy If you are using a non-Canon printer, refer to the printer’s instruction manual for the recommended paper type settings.
-
Page 10: Dpof Printing
DPOF Printing With DPOF, you can print any number of images at one time. To set the printing options, see the DPOF section in your camera’s instruction manual. Print Order settings Depending on your printer, certain settings might be different or might not be available. -
Page 11: Start Printing
• For the DPOF print type, [Both] cannot be selected. If [Both] is set, the printing will be done according to the [Standard] setting. • The file No. cannot be imprinted. Error Messages If a problem occurs with the printing, an error message will appear on the LCD monitor. - Page 12 CT1-1259-000 © CANON INC. 2003 PRINTED IN JAPAN 0000Ni0.0...


