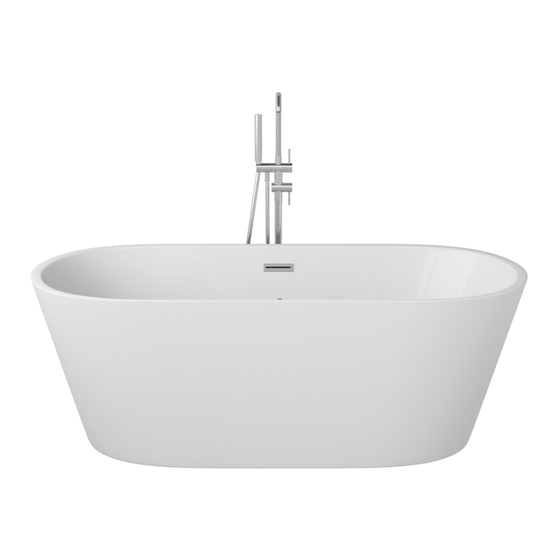
Summary of Contents for Whirlpool Spatec Lima
- Page 1 Use and Installation Manual Freestanding hydromassage Bathtub MODEL: Spatec Lima MEASURES: 1700*800*580mm...
-
Page 2: Installation And Instructions
1. Installation and instructions WARNING! Danger from fire, electric shock and water leakage. Dear customer Thank you for choosing our product. Please take a few minutes to read this manual before starings installation. NOTE! Improper installation, use or maintenance may invalidate the warranty and cause personal injury or property damage. - Page 3 Installation tools For the correct installation of the bath, the following tools will be needed: 1. Level 2. Sealer 3. Spanner 4. Destornillador 5. PTFE tape 3. Bathtub components: 1. Air jets 2. LED spotlight 3. Overflow 4. Drain 5. Control button Electrical parameters: Voltage 220 V...
- Page 4 Attention! All electrical connections must be made by a certified electrician in accordance with the requirements of national electrical codes and procedures. 4. Connection preparation The following measures are an example. All dimensions required for proper installation should be taken directly from the product. Note: The fitting is recommended to be installed in the area marked in blue in the diagram.
-
Page 5: Installation
5. Installation As shown in the picture below, turn the tub over, wrap the tub hole with PTFE tape and then screw in the siphon. Turn the bathtub around. Move the bathtub to the right place in your bathroom; put the siphon in the drain and seal it. Adjust the feet of the bath so that the bath is horizontal and level. -
Page 6: Operation
6. Operation • To turn on the air jets and the LED spotlight, simply press the button on the edge of the bath. • To turn off the functions, press the button again. 7. Cleaning and maintenance 1. Use generic liquid detergent and a soft cloth for daily cleaning. Do not use detergent with acetone, ammonia or strong water. - Page 7 8. PRECAUTIONS 1. Installation must be performed by a qualified technician in accordance with the requirements of national electrical codes and procedures. 2. There must be a RCCB and MCB in the installation. Make sure the ground wire is properly installed. 3.


