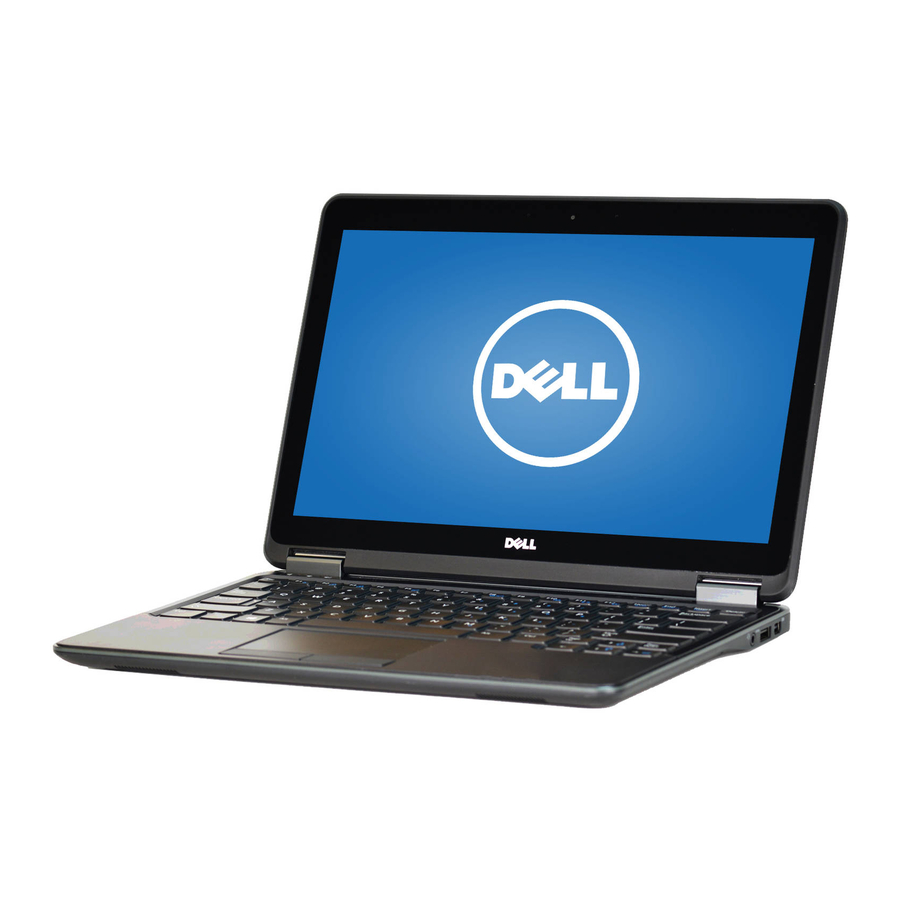
Dell Latitude E7240 Setup And Features Information
Hide thumbs
Also See for Latitude E7240:
- Owner's manual (59 pages) ,
- Setup and features information (9 pages) ,
- Setup & features manual (7 pages)
Summary of Contents for Dell Latitude E7240
- Page 1 DELL CONFIDENTIAL Dell Latitude E7240/ Latitude E7440 Setup and Features Information Language: ENGLISH Regulatory Model: P22S, P40G Regulatory Type: P22S001, P40G001 This is document is for regulatory purpose only.
- Page 2 Other trademarks and trade names may be used in this publication to refer to either the entities claiming the marks and names or their products. Dell Inc. disclaims any proprietary interest in trademarks and trade names other than its own.
-
Page 3: Before Setting Up Your Computer
WARNING: Do not block, push objects into, or allow dust to accumulate in the air vents. Do not store your Dell™ computer in a low-airflow environment, such as a closed briefcase, while it is powered on. Restricting the airflow can damage the computer or cause a fire. The computer turns on the fan when the computer gets hot. - Page 4 Back View: Latitude E7240 1. Power status light 2. Hard drive activity light 3. Battery status light 4. Network connector 5. USB 3.0 connector 6. HDMI connector 7. USB 3.0 connector with powershare 8. Power connector 9. Cooling vents 10. Wireless switch 11.
- Page 5 Front View: Latitude E7440 1. Microphone 2. Camera 3. Camera status light 4. Microphone 5. Display 6. Hard drive status light 7. Battery status light 8. Wireless status light 9. Power button 10. security lock slot 11. USB 3.0 connector 12.
- Page 6 7. SD card reader Icons, Status Lights and Indicators Icons are used to label all connectors and buttons on Dell computers. Check the following table for a description of those found on your computer. Power/battery status light – Indicates the power state and battery status.
- Page 7 HD activity light – lights when the hard drive is writing or reading data. Removing and Replacing a Laptop Computer Battery If your Dell laptop computer is shipped without the battery, install the battery before your proceed. P a g e...
- Page 8 WARNING: Using an incompatible battery may increase the risk of fire or explosion. This computer should only use a battery purchased from Dell. Do not use batteries from other computers. WARNING: Before removing the battery, shut down the computer, and remove external cables (including the AC adapter).
-
Page 9: Connecting The Power Supply
Connecting the Power Supply Computers with External AC Adapters (Notebooks and All-in-One Models) Connect the AC adapter to the computer and then plug it into an electrical outlet or surge protector. Be sure to leave your AC adapter connected throughout the setup process to ensure consistent power for your operating system to complete all configurations, and to charge your battery. -
Page 10: Specifications
Press the Power Button on the Computer (and Display if Connected). Specifications This section provides information that you may need when setting up, updating drivers for, and upgrading your computer. NOTE: Offerings may vary by region. For more information regarding the configuration of your computer, click Start→... -
Page 11: Information For Nom, Or Official Mexican Standard (Only For Mexico)
The following information is provided in the device(s) described in this document in accordance with the requirements of the Official Mexican Standard (NOM): Importer: Dell México S.A. de C.V. Paseo de la Reforma 2620 – Flat 11° Col. Lomas Altas 11950 México, D.F. - Page 12 11 | P a g e...


