Table of Contents
Advertisement
Advertisement
Table of Contents

Summary of Contents for Whirlpool WED75HEFW
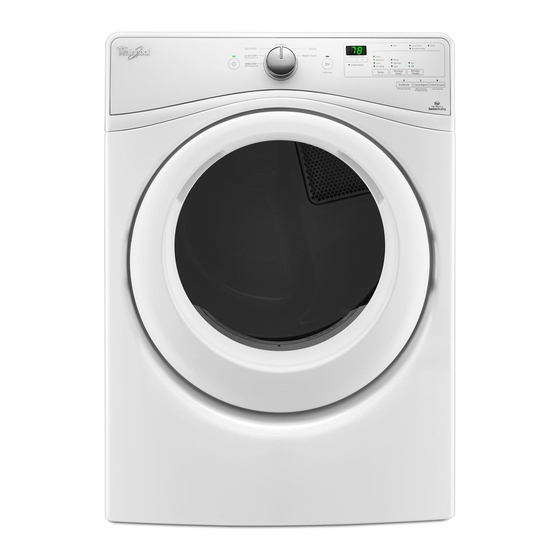
- Page 1 Use & Care Guide Guide d’utilisation et d’entretien Electronic Dryer Sécheuse électronique If you have any problems or questions, visit us at www.whirlpool.com Pour tout problème ou question, consulter www.whirlpoolappliances.ca W10804688A W10804689A - SP...
-
Page 2: Table Of Contents
Table of Contents Table de matières DRYER SAFETY ...............2 SÉCURITÉ DE LA SÉCHEUSE ..........19 ACCESSORIES ................4 ACCESSOIRES ..............21 CHECK YOUR VENT SYSTEM FOR GOOD AIRFLOW ....5 VÉRIFICATION D’UNE CIRCULATION D’AIR ADÉQUATE POUR LE SYSTÈME D’ÉVACUATION ........22 CONTROL PANEL AND FEATURES .........6 TABLEAU DE COMMANDE ET CARACTÉRISTIQUES ..23 CYCLE GUIDE ................8 GUIDE DES PROGRAMMES ..........25... - Page 3 IMPORTANT: When discarding or storing your old clothes dryer, remove the door.
-
Page 4: Accessories
Accessories Enhance your new washer and dryer with the following Drying Rack genuine Whirlpool accessories. For more information The Drying Rack provides a on options and ordering, call 1-800-901-2042, or visit us stationary drying surface for items at: www.whirlpool.com/accessories. In Canada, call such as sweaters and tennis shoes. -
Page 5: Check Your Vent System For Good Airflow
Check Your Vent System for Good Air ow Maintain good air ow by: Cleaning your lint screen before each load. ■ Replace plastic or foil vent material ■ with 4" (102 mm) diameter heavy, rigid vent material. Use the shortest length of vent possible. ■... -
Page 6: Control Panel And Features
Control panel and features Not all features and cycles are available on all models. NOTE: The control panel features a sensitive surface that responds to a light touch of your nger. To ensure your selections are registered, touch the control panel with your nger tip, not your ngernail. When selecting a setting or option, simply touch its name. - Page 7 POWER OPTIONS Touch to turn the dryer on and off. Touch to stop/cancel Use to select available options for your dryer. Not all a cycle at any time. cycles and options are available on all models. Static Reduce CYCLE CONTROL KNOB Touch to add the Static Reduce option to selected Turn the knob to select a cycle for your laundry load.
-
Page 8: Cycle Guide
Cycle Guide – Automatic Cycles Settings and options shown in bold are default settings for that cycle. If settings are changed, the new settings will be remembered. If there is a power failure, settings will return to the default. Not all features and cycles are available on all models. Not all settings and options are available on each cycle. - Page 9 Cycle Guide – Manual Cycles Settings and options shown in bold are default settings for that cycle. If settings are changed, the new settings will be remembered (except on Quick Dry). If there is a power failure, settings will return to the default.
-
Page 10: Using Your Dryer
Using Your Dryer WARNING: To reduce the risk of re, electric shock, or injury to persons, read the IMPORTANT SAFETY INSTRUCTIONS before operating this appliance. Touch POWER Clean the lint screen Touch POWER to turn on the dryer. Select the desired cycle Clean the lint screen before each load. - Page 11 Adjust cycle settings, if desired Touch and hold START/PAUSE to begin cycle Touch and hold START/PAUSE to begin the cycle. Appearance may vary. You may adjust different settings, depending on whether you Remove garments promptly have selected an Automatic Cycle, Manual Cycle, or Steam after cycle is nished Cycle (on some models).
-
Page 12: Cycle Status Indicators
Cycle Status Indicators Additional Features USING THE DRYING RACK To purchase a drying rack for your dryer, order by calling 1-877-944-7566. You will need your model and serial number and the purchase date. Remove and discard any packing material before use. Use the Drying Rack for items that you do not want to tumble dry, such as sweaters and tennis shoes. -
Page 13: Dryer Care
Dryer Care CLEANING THE LINT SCREEN Every load cleaning CLEANING THE DRYER LOCATION The lint screen is located in the door opening of the dryer. Keep dryer area clear and free from items that would A screen blocked by lint can increase drying time. block the air ow for proper dryer operation. - Page 14 NON-USE, STORAGE, AND MOVING CARE SPECIAL INSTRUCTIONS FOR STEAM MODELS Install and store your dryer where it will not freeze. Because some water may stay in the hose, freezing can damage Water Inlet Hose your dryer. If storing or moving your dryer during freezing Replace inlet hose and hose screen after 5 years of use weather, winterize it.
-
Page 15: Troubleshooting
Troubleshooting First try the solutions suggested here or visit our website at www.whirlpool.com/product_help – In Canada www.whirlpool.ca for assistance and to possibly avoid a service call. If you experience Solution Possible Causes Dryer Operation Make sure the dryer door is closed completely. - Page 16 Troubleshooting First try the solutions suggested here or visit our website at www.whirlpool.com/product_help – First try the solutions suggested here or visit our website at www.whirlpool.com/product_help – In Canada www.whirlpool.ca for assistance and to possibly avoid a service call. In Canada www.whirlpool.ca for assistance and to possibly avoid a service call.
- Page 17 Troubleshooting First try the solutions suggested here or visit our website at www.whirlpool.com/product_help – First try the solutions suggested here or visit our website at www.whirlpool.com/product_help – In Canada www.whirlpool.ca for assistance and to possibly avoid a service call. In Canada www.whirlpool.ca for assistance and to possibly avoid a service call.
-
Page 18: Warranty
DISCLAIMER OF REPRESENTATIONS OUTSIDE OF WARRANTY Whirlpool makes no representations about the quality, durability, or need for service or repair of this major appliance other than the representations contained in this Warranty. If you want a longer or more comprehensive warranty than the limited warranty that comes with this major appliance, you should ask Whirlpool or your retailer about buying an extended warranty.


