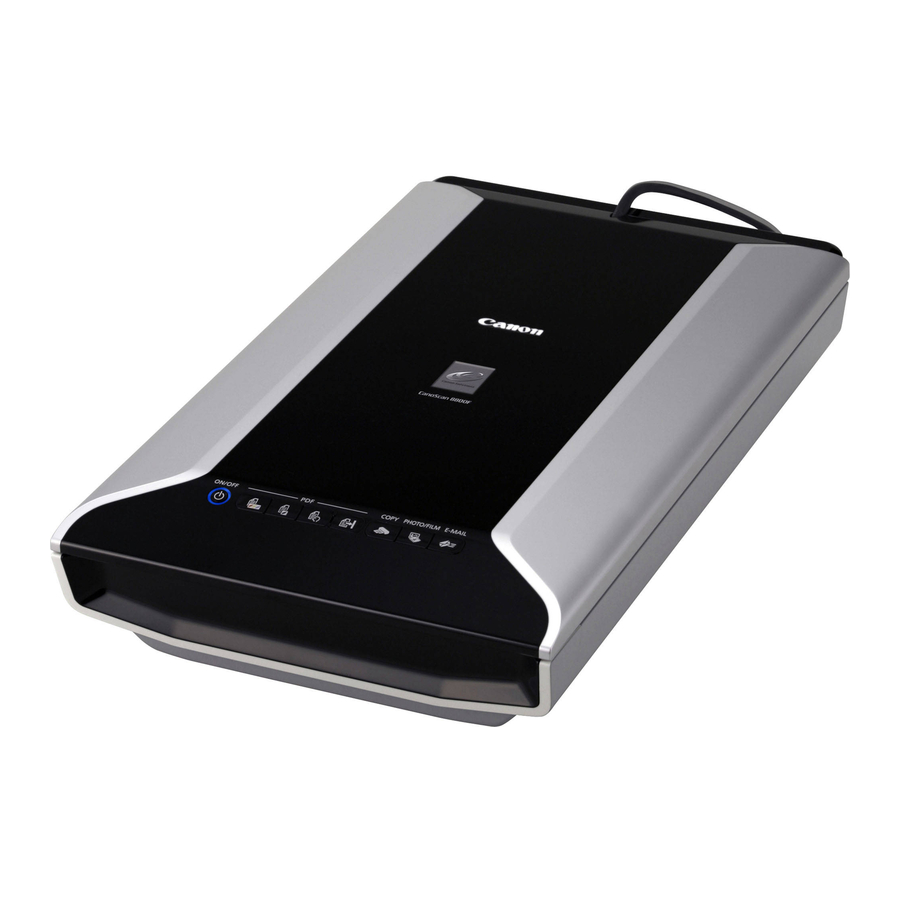
Canon CanoScan 8800F Quick Start Manual
Canon scanner quick start guide
Hide thumbs
Also See for CanoScan 8800F:
- Quick start manual (32 pages) ,
- Service manual (28 pages) ,
- Brochure (10 pages)
Advertisement
Quick Start Guide
Quick Start Guide
Please read this guide before operating this scanner. After you finish reading this guide,
store it in a safe place for future reference.
Package Contents............................... 1
Installing the Software......................... 2
Preparing the Scanner ........................ 4
Try Scanning....................................... 5
Using the Scanner Buttons ................. 6
Table of Contents
Scanning with MP Navigator EX......... 7
Scanning Film ..................................... 8
Specifications...................................... 11
Safety Precautions.............................. 12
Advertisement
Table of Contents

Summary of Contents for Canon CanoScan 8800F
-
Page 1: Table Of Contents
Quick Start Guide Quick Start Guide Please read this guide before operating this scanner. After you finish reading this guide, store it in a safe place for future reference. Package Contents... 1 Installing the Software... 2 Preparing the Scanner ... 4 Try Scanning... - Page 2 Do not make any changes or modifications to the equipment unless otherwise specified in the manual. If such changes or modifications should be made, you could be required to stop operation of the equipment. Canon U.S.A., Inc. One Canon Plaza...
-
Page 3: Package Contents
(for 35mm film strip/slide) Documentation • Quick Start Guide (this document) • Additional Documents Setup CD-ROM • Software Programs - ScanGear (scanner driver) - MP Navigator EX - ArcSoft PhotoStudio - Presto! PageManager (Windows only) - OmniPage SE • On-screen Manuals... -
Page 4: Installing The Software
Installing the Software Installing the Software • Do NOT connect the scanner to a computer before installing the software. If you connect the scanner and the Found New Hardware Wizard appears, unplug the USB cable from the computer, and then click [Cancel] to close the screen. - Page 5 Click [Install] to start installation. Carefully read the License Agreement, and then click [Yes] to proceed. Follow the on-screen instructions to perform the installation. When the Registration dialog box appears, follow the on-screen instructions to ensure product support. When the installation is complete, click [Restart] to restart your computer.
-
Page 6: Preparing The Scanner
Open the document cover and slide the lock switch toward the unlock mark ( • Handle the scanner with both hands. Be careful not to drop the scanner. • When you carry or transport the scanner, make sure to slide the lock switch toward the lock mark ( ) to fasten the scanning unit. -
Page 7: Try Scanning
Select the type of document you are scanning in [Select Source] and click [Preview]. Set [Destination] and/or [Output Size] as needed. Click [Scan] to start scanning. • Do not touch the scanner while it is operating. • Do not see the light source directly during a scan job. -
Page 8: Using The Scanner Buttons
If the scanner buttons do not work properly, see "Troubleshooting" in the Scanning Guide. • For Mac OS X v.10.3.x and v.10.2.x (v.10.2.8 or later): Before using the scanner buttons, you need to set Image Capture (in [Applications] folder) to open MP Navigator EX automatically when a scanner button is pressed. -
Page 9: Scanning With Mp Navigator Ex
Operating Procedures Start MP Navigator EX. For Windows: Select [Start] – [(All) Programs] – [Canon Utilities] – [MP Navigator EX 1.0], and click [MP Navigator EX 1.0]. For Macintosh: Open [Applications] – [Canon Utilities] folders, then double-click the [MP Navigator EX 1.0] icon. -
Page 10: Scanning Film
Scanning Film Scanning Film This scanner can scan 35 mm film (film strip or slide) and 120 format film. Follow the procedure below when scanning film. Remove the protective sheet from the document cover. Press and hold the lever at the top of the protective... - Page 11 35mm Slides Align the Film Guide’s tab with the FILM symbol on the document glass of the scanner. Place a slide or slides face down (correctly viewed from below) in the Film Guide as shown in the diagram to the right.
- Page 12 Place a check mark beside the number(s) of the frame(s) you want to scan. Perform image corrections as needed. Click [Scan] to start scanning. Do not touch the scanner while it is operating. When prompted to close ScanGear, click [OK]. Save the scanned image in ArcSoft PhotoStudio and close the window.
-
Page 13: Specifications
Canon AC Adapter: K30286 • Specifications are subject to change without notice. Model Number: K10301 (CanoScan 8800F) 25-19200 dpi (ScanGear) 48 bit input (16bit input for each color (RGB)) -
Page 14: Safety Precautions
Then contact your retailer or Canon Customer Support Help Desk. CAUTION • Do not place the scanner in areas with high humidity, areas subject to direct sunlight, areas with high temperatures and areas near flame sources. Fire or electrical shock may result. -
Page 15: General Handling Precautions
• If you hear unusual noises, see smoke, feel excessive heat or smell anything unusual, immediately unplug the AC adapter and the power cord. Then contact your retailer or Canon Customer Support Help Desk. Continued use of the scanner may result in fires or electrical shock. - Page 16 The socket-outlet shall be installed near the equipment and shall be easily accessible. ® As an NERGY Partner, Canon Inc. has determined that this product ® meets the NERGY guidelines for energy efficiency. QT5-1299-V01 XXXXXXXX ©CANON INC. 2007 PRINTED IN THAILAND...


