Advertisement
Quick Links
Advertisement

Summary of Contents for Canon Eos rebel T3
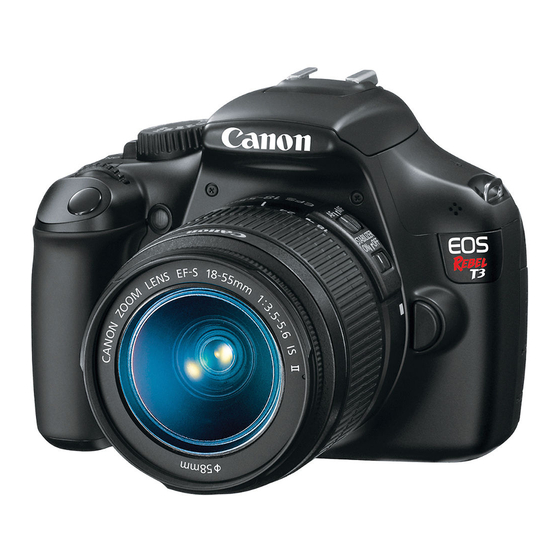
- Page 1 Cannon Camera User guide Eos rebel T3 Eos rebel T5 Eos rebel T6...
- Page 2 Camera Cable—USB to computer You are supplied with a USB cable that connects the camera to the computer. It has a yellow C sticker on it. Insert it into the body of the camera where the corresponding Yellow C sticker is located. Insert cable Here...
- Page 3 The other end of the yellow C cable should be already inserted into the back of your computer or laptop, but do check it to be sure that it is secure.
- Page 4 Power Supply cable The power supply cable will be already be plugged into the power pack located on the lower back section of the camera case. Check it to be sure is it secure. The other end of the cord clicks into the battery cartridge that is inserted into the bottom of your camera.
- Page 5 Power Supply to Camera Continued Remove the power pack from the camera, insert the tip of the power supply cable into the power pack and then reinsert it into the bottom of the camera. A gray clip on one side of the power pack compartment can be gently pushed back to allow for insertion of the power pack.
- Page 6 Sync Cable for Flash The third and final cable that connects to your camera is the sync cable for the flash. It is labeled with a green C. It connects to the hot shoe on the top of your camera and is found in the compartment that the camera was packed in.
- Page 7 The other end of the flash sync cable is inserted into the back of the flash. Several flash models are shown below. Your sync cable is stored in the bin with your flash.
-
Page 8: Camera Settings
Camera Settings You are now ready to turn the camera on. The On/Off button is a switch right next to the mode button. The mode dial should be in MANUAL mode. You must have the camera on M for manual mode or the lighting will not be correct. Mode Dial—line up M with white line on camera body On/Off switch... - Page 9 Your camera is preset to a shutter speed of 125 and an F-stop of 8. Your F-stop may change, depending on your lighting situation, but the shutter speed should remain on 125. To see these settings click on the Display button on the back of your camera.
- Page 10 Setting Shutter Speed After clicking the Display button , the back of the camera will light up and the shutter speed and F-stop will show on the top of the screen. The shutter speed will be highlighted with two yellow arrows. To change this setting, roll the Main Command dial right or left.
- Page 11 Setting the F-Stop To adjust the F-stop on the camera, click on the AV button on the back of the camera. Hold that button down while turning the Main Command dial, and it will change your F-stop. The higher the F- stop number, the darker your picture will get.
- Page 12 Gray Card Program– Automatic F-Stop adjustment The F-Stop can always be adjusted manually, however the Gray Card Program, on your photo software, will adjust your F-stop automatically for the best exposure in your environment. ( click on Show Menu, then click on the Adjust Color and Lights tab) **See the RPS software tutorial for complete instructions on the Gray Card program.
- Page 13 Focus Modes To set the camera to autofocus mode, click the switch on the side of the lens to AF. Your camera may be set to MF when shipped, ( for manual focus) but autofocus can be used if preferred. *Note, if using touchscreen to take a picture, the focus setting must always be Manual.
- Page 14 Focusing the camera in manual mode For manual focus, look through the viewfinder and make sure that the area inside the lens looks clear. The numbers on the lower bottom of the inside screen should appear sharp to your eye. If they do not, adjust the diopter, to the right of the viewfinder, until the numbers inside the lens look sharp.
- Page 15 Focusing and Zooming the lens The larger ring on any lens is always the zoom adjustment. Zoom can be used with manual or autofocus. The Focal adjustment ring at the end of the lens can only be used when in Manual focus. The larger ring on the lens will zoom the subject in and out.
- Page 16 Look through the lens and center your picture like the sample below. Zoom in closely to Santa and child to create a portrait. Avoid zooming back too far, or many unwanted elements in the mall may become part of your picture.
- Page 17 This concludes the Cannon Camera Tutorial Additional setup information along with a troubleshooting guide are available on Schoox online training, and within the help menu on your photo software. Please call tech support with any questions you may have. 1-800-969-2440...


