Table of Contents
Advertisement
Quick Links
;Order Number MAC0705001CE
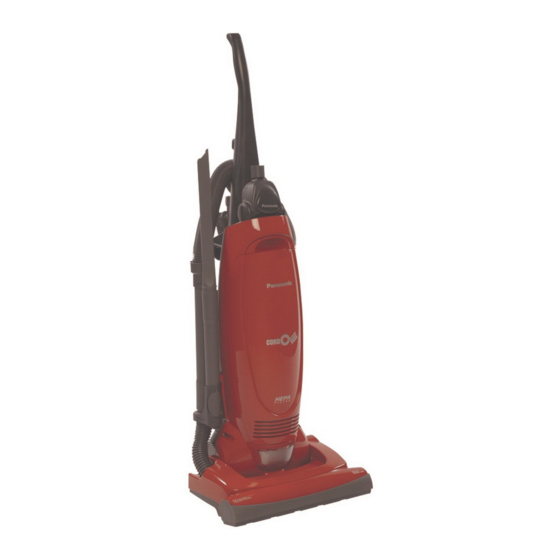
Vacuum Cleaner
MC-UG471-00
Specifications are subject to change without notice for further improvement.
© 2007 PANASONIC CONSUMER ELECTRONICS
COMPANY,
DIVISION
OF
MATSUSHITA
ELECTRIC CORPORATION OF AMERICA. All rights
reserved. Unauthorized copying and distribution is a
violation of law.
Advertisement
Table of Contents

Summary of Contents for Panasonic MC-UG471-00
- Page 1 ;Order Number MAC0705001CE Vacuum Cleaner MC-UG471-00 Specifications are subject to change without notice for further improvement. © 2007 PANASONIC CONSUMER ELECTRONICS COMPANY, DIVISION MATSUSHITA ELECTRIC CORPORATION OF AMERICA. All rights reserved. Unauthorized copying and distribution is a violation of law.
-
Page 2: Table Of Contents
MC-UG471-00 CONTENTS Page Page 1 WIRING DIAGRAM AND DRAWING 3.1. Lower Plate Replacement 1.1. Wiring Diagram 3.2. Agitator Assembly Replacement 1.2. Pictoral Diagram 3.3. Belt Replacement 2 EXPLODED VIEW AND PARTS LIST 3.4. Bulb Replacement 2.1. Body 3.5. Motor Replacement 2.2. -
Page 3: Wiring Diagram And Drawing
MC-UG471-00 1 WIRING DIAGRAM AND DRAWING 1.1. Wiring Diagram... -
Page 4: Pictoral Diagram
MC-UG471-00 1.2. Pictoral Diagram NOTE: For general servicing, it is necessary to eliminate pinching of any wire during reassembly. After servicing any electrical component or electrical enclosure, the unit should be reassembled and checked for dielectric breakdown or current leakage. -
Page 5: Exploded View And Parts List
MC-UG471-00 2 EXPLODED VIEW AND PARTS LIST 2.1. Body 2.1.1. Exploded View... - Page 6 MC-UG471-00 2.1.2. Parts List (Body) Ref. Part No. Part Name & Description Quantity Remarks AC40KCRBZV07 Dust Compartment AC60KCRBZR0W Dust Cover AC70PBXZZV07 Wand Holder AC98EARFZ0U ON/OFF Switch AC43GBJAZ000 Lead Wire - White AC38GBJAZ000 Lead Wire - Black AC69KJMZV07 Protector AC70KBKFZK00 Protector Spring...
-
Page 7: Nozzle Housing
MC-UG471-00 2.2. Nozzle Housing 2.2.1. Exploded View 2.2.2. Parts List (Nozzle Housing) Ref. No. Part No. Part Name & Description Quantity Remarks AC01ADDHZRUW Nozzle Housing AMC68A-V30 Screw AC10ACKPZV06 Furniture Guard AC84RCKPZ000 Agitator AC27ACRAZV07 Lower Plate Shipped 10 per package AC68NCRAZV06... -
Page 8: Packing Materials
MC-UG471-00 2.3. Packing Materials 2.3.1. Exploded View 2.3.2. Parts List (Nozzle Housing) Ref. No. Part No. Part Name & Description Quantity Remarks AC61ZDDHZ000 Packaging Assembly Includes items A-G AC01ZDDHZ000 Operating Instruction... -
Page 9: Replacement Instructions
MC-UG471-00 3 REPLACEMENT INSTRUCTIONS 3.1. Lower Plate Replacement 3.1.1. Removal 1. Disconnect power cord from electrical outlet, and place on paper to protect the floor surface. Place vacuum cleaner in the full upright posiiton. 2. Turn the unit over so the agitator and nozzle base are facing upward. -
Page 10: Belt Replacement
MC-UG471-00 housing. the vacuum cleaner is laying flat on the floor. 5. Press firmly, checking to see that each end is completely 3. Pry out light lens at slots. Remove old bulb from the socket inserted. by pulling from socket. - Page 11 MC-UG471-00 2. Place the motor back into the dust compartment with the tabs on the motor support (rear) aligned parallel to the front edge of the dust compartment. 3. Rewire per the Pictorial Wiring Diagram and Wiring 3. Remove light lens, bulb, and bulb socket. See HEADLIGHT BULB REPLACEMENT.
-
Page 12: On-Off Switch Replacement
MC-UG471-00 3.6. On-Off Switch Replacement NOTE: For general servicing, it is necessary to eliminate pinching of any wire during reassembly. After servicing 3.6.1. Removal any electrical component or electrical enclosure, the unit should be reassembled and checked for dielectric 1. Remove the cover and dust cover as outlined in MOTOR breakdown or current leakage. - Page 13 MC-UG471-00 3.8.2. Installation 1. Reinstall the motor protector placing the protector into the dust compartment followed by the spring. Then align the two tabs with the slots in the dust compartment by applying pressure and snap the cover into place.


