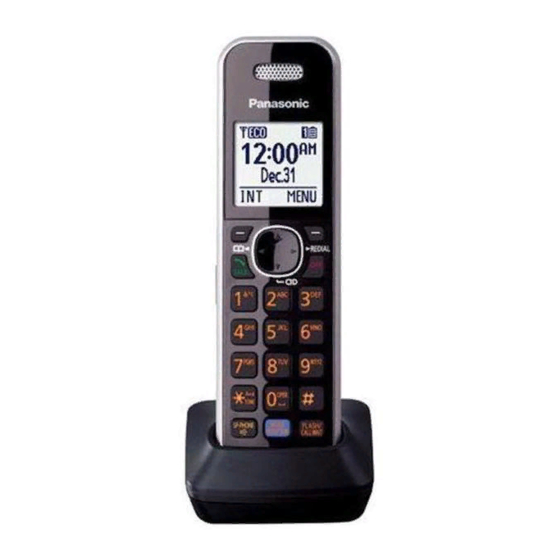
Panasonic KX-TGA680 Installation Manual
Additional digital cordless handset
Hide thumbs
Also See for KX-TGA680:
- Installation manual (11 pages) ,
- Operating instructions manual (109 pages) ,
- Operating instructions manual (68 pages)
Table of Contents
Advertisement
Quick Links
Thank you for purchasing a Panasonic product.
This unit is an additional handset compatible with the following series of
Panasonic Digital Cordless Phone:
KX-TG6841/KX-TG7841/KX-TG7871
(The corresponding models are subject to change without notice.)
You must register this handset with your base unit before it can be used. This
installation manual describes only the steps needed to register and begin
using the handset. Please read the base unit's operating instructions for
further details.
Please read this installation manual before using the unit and save it for future
reference.
For assistance, visit our Web site: http://shop.panasonic.com/support
for customers in the U.S.A.
Two Riverfront Plaza, Newark, NJ 07102-5490
© Panasonic Corporation 2012
Printed in China
Installation Manual
Additional Digital Cordless Handset
Model No.
PNQX5772XA
PP1212MG2027 (E)
KX-TGA680
Advertisement
Table of Contents

Summary of Contents for Panasonic KX-TGA680
- Page 1 Installation Manual Additional Digital Cordless Handset KX-TGA680 Model No. Thank you for purchasing a Panasonic product. This unit is an additional handset compatible with the following series of Panasonic Digital Cordless Phone: KX-TG6841/KX-TG7841/KX-TG7871 (The corresponding models are subject to change without notice.) You must register this handset with your base unit before it can be used.
-
Page 2: Accessory Information
R The AC adaptor must remain connected at all times. (It is normal for the adaptor to feel warm during use.) R Make sure that the wall and the fixing method are strong enough to support the weight of the unit. For assistance, please visit http://shop.panasonic.com/support... - Page 3 Battery installation/Battery charging Important: R Use the supplied rechargeable batteries. For replacement, we recommend using the Panasonic rechargeable batteries noted on page 2. R Wipe the battery ends ( ) with a dry cloth. R Avoid touching the battery ends ( ) or the unit contacts.
-
Page 4: For Your Safety
Battery R We recommend using the supplied batteries or additional/replacement batteries noted on page 2 for replacement battery information. USE ONLY rechargeable Ni-MH batteries AAA (R03) size. For assistance, please visit http://shop.panasonic.com/support... - Page 5 (or charger). Failure to follow these instructions may cause the batteries to swell or explode. Attention: A nickel metal hydride battery that is recyclable powers the product you have purchased. Please call 1-800-8-BATTERY (1-800-822-8837) for information on how to recycle this battery. For assistance, please visit http://shop.panasonic.com/support...
-
Page 6: Important Safety Instructions
If noise occurs, use an optional headset accessory or the speakerphone option (if applicable) when using this phone. Consult with your audiologist or Hearing Aid manufacturer about the availability of Hearing Aids which provide adequate shielding to RF energy commonly emitted by digital devices. For assistance, please visit http://shop.panasonic.com/support... - Page 7 R The handset may be carried and operated with only the specific provided belt-clip. Other non-tested belt-clips or similar body-worn accessories may not comply and must be avoided. Notice: R FCC ID can be found inside the battery compartment or on the bottom of the unit. For assistance, please visit http://shop.panasonic.com/support...
- Page 8 2 Check if telephone line cord is connected. 3 Use rechargeable Ni-MH batteries. (Alkaline/Manganese/Ni-Cd batteries CANNOT be used.) 4 Read troubleshooting page in the base unit’s Operating Instructions. Visit our Web site: http://shop.panasonic.com/support LFAQ and troubleshooting hints are available. For assistance, please visit http://shop.panasonic.com/support...
-
Page 9: Customer Services Directory
Appendix Customer services Shop Accessories! for all your Panasonic gear Go to h p://shop.panasonic.com/support Get everything you need to get the most out of your Panasonic products Accessories & Parts for your Camera, Phone, A/V products, TV, Computers & Networking, Personal Care, Home Appliances, Headphones, Ba eries, Backup Chargers &... -
Page 10: Limited Warranty (Only For U.s.a.)
If your product does not work properly because of a defect in materials or workmanship, Panasonic Corporation of North America (referred to as “the warrantor”) will, for the length of the period indicated on the chart below, which starts with the date of original purchase (“warranty period”), at its option either (a) repair your product with new or refurbished parts,... - Page 11 Service Center. If the problem is not handled to your satisfaction, then write to: Consumer Affairs Department Panasonic Corporation of North America 661 Independence Pkwy Chesapeake, VA 23320 PARTS AND SERVICE, WHICH ARE NOT COVERED BY THIS LIMITED WARRANTY, ARE YOUR RESPONSIBILITY.
-
Page 12: Manual De Instalación
Lea las instrucciones de operación de la unidad base para obtener más detalles. Lea este manual de instalación antes de usar la unidad y guárdelo para consultarlo en el futuro. Para obtener ayuda, visite nuestro sitio web: http://shop.panasonic.com/support para clientes en los EE. UU. TGA680US(es-es)_0214_ver201.pdf 2017/02/14... -
Page 13: Instalación
Instalación Información de los accesorios Accesorios que se suministran Accesorio/Número de pedido Cantidad Cargador/PNLC1040ZB Baterías recargables/HHR-4DPA Cubierta del auricular /PNYNTGA680BR Sujetador para cinturón/PNKE1268Z1 La tapa del auricular viene unida a él. Nota: R Lea las instrucciones de operación de la unidad base para obtener información sobre accesorios adicionales o de repuesto. - Page 14 Instalación y carga de la batería Importante: R Utilice las baterías recargables que se suministran. Para reemplazarlas, recomendamos el uso de las baterías recargables Panasonic que se especifican en la página 2. R Limpie los extremos de las baterías ( ) con un paño seco.
- Page 15 Instalación Idioma de la pantalla MMENUN#110 MbN: Seleccione la configuración deseada. a MGUARDAN a MOFFN TGA680US(es-es)_0214_ver201.pdf 2017/02/14 16:37:51...
- Page 16 Notas TGA680US(es-es)_0214_ver201.pdf 2017/02/14 16:37:51...


