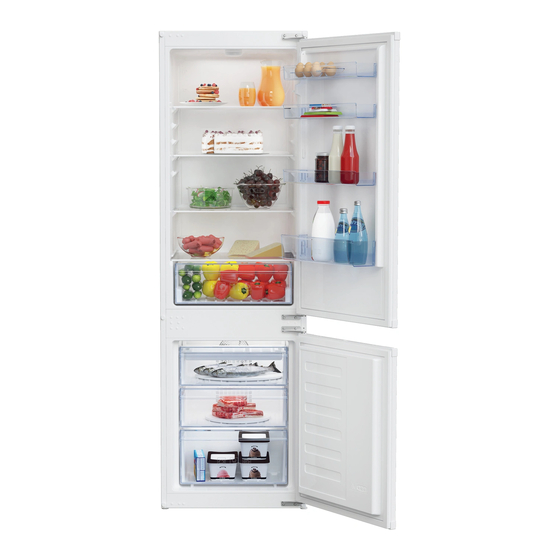
Summary of Contents for Beko K54275HB
- Page 1 Instructions d’installation Istruzioni di installazione Instrucțiuni de instalare K54285B / K54275HB - Sliding 4578346310/AG...
- Page 2 No wooden back wall 71mm 40 mm The back wall of the wooden cabinet must be left open completely to kitchen wall in order to allow sufficient air circulation to cool down the condenser unit for energy efficiency. Die Rückseite des Holzschranks muss zur Küchenwand hin vollständig offen bleiben, damit eine ausreichende Luftzirkulation für die Abkühlung des Kondensators zur Gewährleistung der Energieeffizienz sorgt.
-
Page 3: Regolazione Dei Piedini
Adjusting the legs If your refrigerator is unbalanced: You can balance your refrigerator by turning the legs of it as illustrated in the figure. The corner where the leg exists is lowered when you turn in the direction of black arrow and raised when you turn in the opposite direction. - Page 4 * If the subject parts are not included in the product you have purchased, then it is valid for other models (see page 4). * Falls Teile nicht zum Lieferumfang des erworbenen Produktes zählen, gelten sie für andere Modelle (siehe Seite 4). * Si les pièces concernées ne sont pas incluses dans le produit que vous avez acheté, elles sont valables pour d'autres modèles (voir page 4).
-
Page 5: Top View
Torx Wood Plastic Sheet Wood (PS) (1TW) * Spares Included * Ersatzteile inklusive * Pièces incluses * Ricambi inclusi * Piese incluse * Dahil olan parçalar view 42 mm ≤ 17 mm Note: Installation step for 2, screws for connecting top plastic part should not be screwed very hard, because of moving the plastic part easily left or right side. - Page 6 4 mm...
- Page 7 (1TW) 4 2 ,...
- Page 8 (1TW) 4 2 , (1TW) 2,0 mm...
- Page 9 21 mm...
- Page 10 Note: Installation step for 8* and 20* - only for some models. Hinweis: Installationsschritt 8* und 20* - nur für einige Modelle. Remarque: L'étape 8* et 20* de l'installation - uniquement pour certains modèles. Nota: Fase di installazione per 8* e 20* - solo per alcuni modelli. Notă: Instalare pasul 8* și 20* - doar pentru anumite modele.
- Page 11 4 mm 2 mm 2 mm 4 mm 2 mm 2 mm...
- Page 12 Notes / Anmerkungen / Remarques / Gli appunti / Notițe / Notlar ……………………………………………………………………………………..………………………………………………………………………………………. ……………………………………………………………………………………..………………………………………………………………………………………. ………………………………………………………………………………………. ………………………………………………………………………………………. ……………………………………………………………………………....…………………………………………………………………………………..………………………………………………………………………………………. ……………………………………………………………………………………..………………………………………………………………………………………. ……………………………………………………………………………………..………………………………………………………………………………………. ………………………………………………………………………………………. ………………………………………………………………………………………. ……………………………………………………………………………....…………………………………………………………………………………..………………………………………………………………………………………. ………………………………………………………………………………………. ……………………………………………………………………………………..


