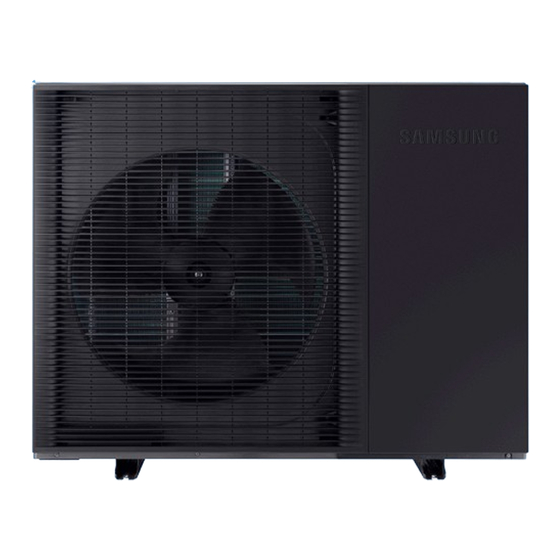
Summary of Contents for Samsung AE080BXYDEG
- Page 1 Samsung HTQ with Third Party controls Installation and Setup Monobloc system February 2024...
-
Page 2: Table Of Contents
CONTENTS EASY NAVIGATION Introduction............................2 Warranty..............................3 Checking the Flow Rate......................4 Power Supply.............................5 Control Wiring..........................6 Pre start checks..........................7 Starting Up the Unit for the First Time................7 Setting the Heating to on......................9 Setting the DHW to on.........................9 Troubleshooting..........................10 Fault Codes............................11 CLICK ON THE TOPIC YOU WANT TO FIND OUT MORE INFORMATION CONTACT US... -
Page 3: Introduction
This manual is designed to be a quick guide to the most common type of installation for the Samsung HTQ R32 Monobloc system. This assumes Heating via Buffer Tank, Domestic hot water via a cylinder with sensor pocket and immersion heater, 1 Heating Circuits controlled via third party programmable temperature controller. -
Page 4: Warranty
Please check the following before commencing start-up as they are important conditions of the Samsung warranty, Please see the Samsung EHS installation Guide for full Details A magnetic filter must be installed in the return pipe as close as possible to the system inlet. Do not switch the system on without this. -
Page 5: Checking The Flow Rate
A commissioning sheet is available for download on the Secon renewable website www.seconrenewables.com This should be filled in and returned to Samsung within 28 days of commissioning. Also, the unit should be subject to an annual service by the installing contractor or another authorized service company to meet the warranty conditions. -
Page 6: Power Supply
POWER SUPPLY The Monobloc units require a single power supply. *All Cable and Breaker sizes should be checked prior to Installation by a NICEIC accredited electrician. *Communication Cable and Electrical supply should be kept separate (50mm or more). The communication cable should be 0.75mm 2 core screened cable earthed at the outdoor unit. The Internal MIM unit Requires a 20Amp Supply when the Tank Booster heater is connected and a suitably sized cable 4mm²* *All Cable and Breaker sizes should be checked prior to Installation by a NICEIC accredited electrician or... -
Page 7: Control Wiring
0.75mm cable. We recommend taking the immersion heater is taken trough a point of local isolation. The tank hot water sensor is a Samsung specific part and not a generic item and connects to CNS042. Please confirm all details with the relevant Samsung installation manuals. -
Page 8: Pre Start Checks
PRE START CHECKS Please check the following items before starting and powering up the unit: Ensure that both the internal and external units are plumbed up currently and wired correctly. The system should be fully flushed in both directions at 110% of the systems required flow rate. A suitable strainer must be fitted to protect the outside unit this should be check post flushing of the system, we also recommend an external magnetic filter. - Page 9 Continued... 4.Access service mode by pushing and holding the up and down arrow for 10 seconds. 5.Enter password 0202 6.And push OK the unit is now in service mode. 7.Select Self-Test mode 8.Scroll down and select water pump ON, allow 15min for the system to circulate, bleeding the system at the same time whilst checking the pressure whilst doing so.
-
Page 10: Setting The Heating To On
SETTING THE HEATING TO ON 1. Using the Left and Right arrow highlight the zone required 2. Push the Power button to enable. 3. Screen Will display 0.0 4. Push ok and the Flow Temps can be seen 5. Use the return key to exit. *0.0 must be on for the heat pump to detect a run signal from the system SETTING THE DHW TO ON... -
Page 11: Troubleshooting
TROUBLESHOOTING www.seconrenewables.com 0191 516 6553 info@seconrenewables.com... -
Page 12: Fault Codes
FAULT CODES www.seconrenewables.com 0191 516 6553 info@seconrenewables.com... - Page 13 Continued... www.seconrenewables.com 0191 516 6553 info@seconrenewables.com...
- Page 14 Continued... www.seconrenewables.com 0191 516 6553 info@seconrenewables.com...


