Table of Contents
Advertisement
Available languages
Available languages
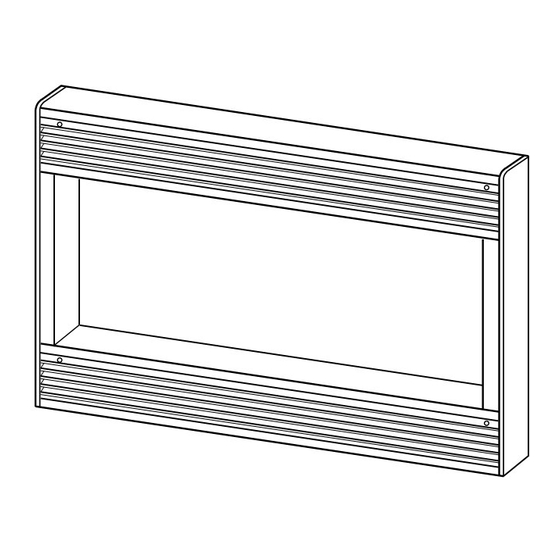
MICROWAVE OVEN BUILT-IN TRIM KIT
27" (68.6 cm): (Y)RBS275PD, (Y)GBS277PD, KEBI171D, (Y)KEBS177D
30" (76.2 cm): (Y)RBS305PD, GBS307PD, (Y)KEBI101D, (Y)KEBS107D
GARNITURE ENCASTRÉE POUR FOUR À MICRO-ONDES
27" (68,6 cm) : (Y)RBS275PD, (Y)GBS277PD, KEBI171D, (Y)KEBS177D
30" (76,2 cm) : (Y)RBS305PD, GBS307PD, (Y)KEBI101D, (Y)KEBS107D
MICROWAVE OVEN SAFETY ................................................2
INSTALLATION INSTRUCTIONS ..........................................2
Tools Recommended ...........................................................2
Parts Supplied ......................................................................2
Cutout Dimensions...............................................................2
Electrical Requirements........................................................3
Microwave Oven Preparation...............................................3
Bottom Duct Assembly ........................................................3
Side Duct and Upper Duct Assembly ..................................3
Anti-Tip Bracket Installation .................................................4
Microwave Oven Placement ................................................4
Trim Kit Frame Installation....................................................5
IMPORTANT: Save Installation Instructions for local electrical inspector's use.
IMPORTANT : Conserver ces instructions d'installation à l'usage de l'inspecteur local des installations électriques.
8205556/3828W5U0443
INSTALLATION INSTRUCTIONS
Built-In Trim Kit Models MK1170XP, MK1177XP
UL listed for use over built-in electric ovens:
INSTRUCTIONS D'INSTALLATION
Garniture pour modèles MK1170XP, MK1177XP
Homologation UL pour utilisation
au-dessus des fours encastrés électriques :
Table of Contents / Table des matières
SÉCURITÉ DU FOUR À MICRO-ONDES .................................5
INSTRUCTIONS D'INSTALLATION ..........................................6
Outillage recommandé.............................................................6
Pièces fournies.........................................................................6
Dimensions pour le découpage...............................................6
Spécifications électriques........................................................6
Préparation du four à micro-ondes .........................................7
Assemblage du conduit du bas...............................................7
Installation de la bride antibasculement ..................................8
Mise en place du four à micro-ondes......................................8
Installation du cadre de garniture ............................................8
Advertisement
Table of Contents

Summary of Contents for Whirlpool BUILT-IN TRIM KIT
-
Page 1: Table Of Contents
MICROWAVE OVEN BUILT-IN TRIM KIT INSTALLATION INSTRUCTIONS Built-In Trim Kit Models MK1170XP, MK1177XP UL listed for use over built-in electric ovens: 27" (68.6 cm): (Y)RBS275PD, (Y)GBS277PD, KEBI171D, (Y)KEBS177D 30" (76.2 cm): (Y)RBS305PD, GBS307PD, (Y)KEBI101D, (Y)KEBS107D INSTRUCTIONS D’INSTALLATION GARNITURE ENCASTRÉE POUR FOUR À MICRO-ONDES Garniture pour modèles MK1170XP, MK1177XP Homologation UL pour utilisation au-dessus des fours encastrés électriques :... -
Page 2: Microwave Oven Safety
MICROWAVE OVEN SAFETY Your safety and the safety of others are very important. We have provided many important safety messages in this manual and on your appliance. Always read and obey all safety messages. This is the safety alert symbol. This symbol alerts you to potential hazards that can kill or hurt you and others. -
Page 3: Electrical Requirements
Electrical Requirements Bottom Duct Assembly 1. Position supports over tabs of bottom duct floor, making sure all 3 tabs are inside each support. Align the tab holes with the WARNING screw holes on the sides of the supports. Fasten supports to bottom duct floor with six "... -
Page 4: Anti-Tip Bracket Installation
NOTE: Remove any dirt or oil on microwave oven surface before ducts are attached. Microwave Oven Placement 3. Peel off backing of double-sided tape. Attach the side duct 1. Slide microwave oven partway into cutout opening. and upper duct assembly to left side of microwave oven NOTE: Bottom bracket must be flat against cutout floor in order cabinet. -
Page 5: Trim Kit Frame Installation
Trim Kit Frame Installation 1. Place trim kit frame over microwave oven. NOTE: Trim kit frame must be oriented so that the louvers are sloping downward in the front. 2. Make sure the trim kit frame is level and equally centered on all 4 sides with respect to microwave oven. -
Page 6: Instructions D'installation
INSTRUCTIONS D'INSTALLATION DIMENSIONS AU-DESSUS DU AU-DESSUS DU Outillage recommandé FOUR ENCASTRÉ FOUR ENCASTRÉ 27" (68,6 CM) 30" (76,2 CM) Rassembler les outils et pièces nécessaires avant de commencer l'installation. Lire et suivre les instructions fournies avec les outils Largeur 25 " (64,77 cm) 25 "... -
Page 7: Préparation Du Four À Micro-Ondes
(Vue arrière du conduit du bas) INSTRUCTIONS DE MISE À LA TERRE Pour tout appareil ménager connecté par un cordon de courant électrique : Il faut que le four à micro-ondes soit relié à la terre. En cas de court-circuit électrique, la liaison à... -
Page 8: Installation De La Bride Antibasculement
2. Brancher le four à micro-ondes. Installation de la bride antibasculement 3. Veiller à centrer le four à micro-ondes dans la cavité; réaliser la mise en place; engager la bride du fond sous la bride 1. Sur le plancher de la cavité, utiliser le gabarit pour marquer la antibasculement.


