Table of Contents
Advertisement
Quick Links
Download this manual
See also:
User Manual
Advertisement
Table of Contents

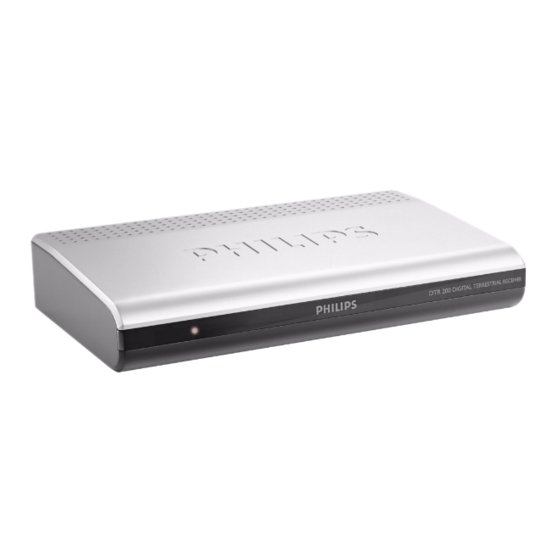
Summary of Contents for Philips DTR 200
-
Page 1: Operating Instructions
DTR 200 Operating Instructions... -
Page 2: Table Of Contents
Table of Contents Control elements and functional Diagnostics ....17 components ....3 Remote control . -
Page 3: Control Elements And Functional
Control elements and functional components Remote control On / Off (standby button) Numerical buttons INFO button EPG button BACK / P<P button EXIT button Arrow buttons OK button Channel + / - Volume + / - Mute button Colour buttons OPT button TV/STB button TEXT button... -
Page 4: First Steps
- Use provided cables and pluggable power supplies only. - During thunderstorms, devices connected to the mains This symbol means that PHILIPS has paid a fee supply may be damaged. Therefore, in case of a thunder- to the "society for the prevention and re-use of storm always disconnect the pluggable power supply packaging waste“. -
Page 5: Remote Control
Danger of electric shock by humidity - The bottom side of the device features the device feet. Because the furniture or floor surfaces consist of vari- - The device may not be exposed to dripping or splashing ous materials and are treated with various care prod- water. -
Page 6: Connecting Other Devices
Connecting other devices Connecting a DVB-T receiver to a TV set and DVD player, or to a video-tape recorder Exemplary view TV set from the back UHF antenna Antenna cable SCART input TV set (Not contained in the scope of delivery. -
Page 7: Operation
Operation - By using the arrow buttons , you change the Switch-on/switch-off displayed values, Switch the receiver on by pressing the ON/OFF button - By using the arrow buttons , you switch (standby button) on the remote control and wait until you between the individual setting possibilities. -
Page 8: Change Of Channel
While the information banner is displayed on the lower Change of channel screen edge, you can call up the extended information banner by pressing the INFO button again. The You can change the channel in different ways: extended information banner supplies further details with - By pressing the channel button + or -. -
Page 9: Using Teletext
Example: Sound selection German/French - The teletext display is enlarged if you press the I-II but- ton. By pressing this button again, the teletext is dis- played in its normal size again. - The automatic turning of a subpage (e. g. page 3/6) is interrupted if you press the TIMER/REC button. -
Page 10: Editing Channel List
NOTE: If the device is switched to radio mode, you can also NOTE: You can readopt deleted channels to the list by effecting carry out the previously described actions in the same manner a new scan. for the stored radio channels. Defining channels as favourites The favourites list contains all channels you have defined Editing channel list... -
Page 11: Epg
2 Switch the active antenna On by using the arrow button - The frequency in MHz is entered via the numerical buttons of the remote control. - The desired band width is set via the arrow buttons. 3 Press the EXIT button. 3 Choose whether all channels or channels that are free- 4 Highlight the automatic scan mode and press the OK to-air only are to be searched for. -
Page 12: Timer
NOTE: Depending on the time of day, also "tomorrow" may be displayed. - By pressing the channel + or - button, you can view the EPG of another channel. - If you want to adopt a programme into the timer list, highlight it and press the TIMER/REC button. -
Page 13: Miscellaneous Functions
NOTE: Depending on your antenna, you can possibly also carry Miscellaneous functions out settings on your antenna. Restoring default settings 5 Press the EXIT button 1x and acknowledge the selec- tion system information by using the OK button. You can reset the device to default settings. In doing so, Here you find technical information on your device. -
Page 14: Settings
Video output VCR Settings NOTE: This item can only be selected, if you have not selected 1 Press the MENU button to open the main menu. The RGB with regard to "video output TV". menu item settings is highlighted by default. Here you can choose between video (FBAS) and 2 Press OK. -
Page 15: Menu Settings
Menu settings Calling up default settings This function has already been described elsewhere, see Display duration of information banner page 13. Here you define for how long the information banner, see page 8, is to be shown with regard to a change of channel. If you want to completely eliminate the information ban- Security ner in case of a change of channel, select not any. - Page 16 Changing device PIN Here you can specify your personal PIN code. 1 Press the OK button. 2 For this purpose, enter the current PIN code and acknowledge by pressing the OK button. 3 Following, enter your new PIN code and press the OK button.
- Page 17 Diagnostics Fault Possible cause Remedies Device does not start Short-circuit in the antenna cable or Check antenna cable low-impedance antenna with simultane- Remove antenna cable, start receiver and ously active antenna power set option active antenna to OFF, see p. 10 No mains voltage Check connector cable and pluggable power supply...
- Page 18 Fault Possible cause Remedies Bad picture quality Incorrect TV SCART output signal Set other TV output signal, see p. 14 No radio reception In some areas, radio programmes are Not any currently not broadcast via DVB-T Technical data General - RF input - Socket IEC60169-2 - DVB-T free-to-air receiver compatible to EN 300 744 - Termination 75 Ohm...


