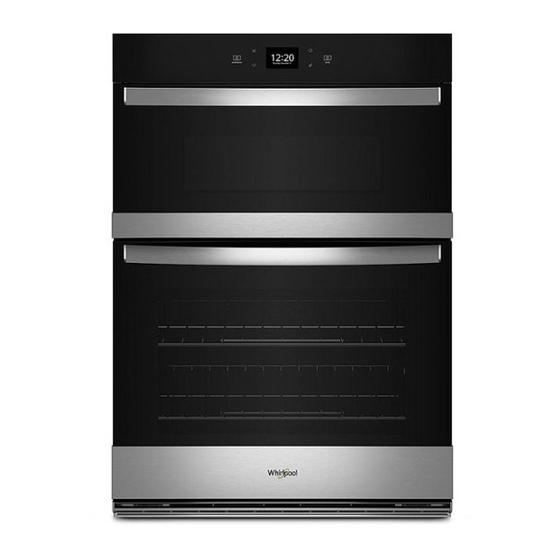
Whirlpool 27" Installation Instructions Manual
27" (68.6 cm) and 30" (76.2 cm) electric built-in microwave/ oven combination
Hide thumbs
Also See for 27":
- Job aid (36 pages) ,
- Installation instructions manual (27 pages) ,
- Installation instructions (5 pages)
Table of Contents
Advertisement
Available languages
Available languages
Quick Links
Installation Instructions
Quick Reference
Table of Contents:
Pages
1
Product dimensions
1
Cutout dimensions
1
Before you start
2
Electrical requirements
2
3
Installation steps
If you need assistance:
Check your Use and Care Guide for a toll-free number
to call or call the dealer from whom you purchased
this appliance. The dealer is listed in the Yellow Pages
of your phone directory under "Appliances —
Household — Major — Service and Repair."
Call when you:
Have questions about built-in oven installation or
operation.
Need to obtain the name and number of an
authorized service company.
When you call, you will need:
The built-in oven model number.
The built-in oven serial number.
Both numbers are listed on the model/serial rating
plate, located on the microwave oven frame.
IMPORTANT:
Read and save these instructions.
IMPORTANT:
Installer: Leave Installation Instructions with the homeowner.
Homeowner: Keep Installation Instructions for future reference.
Part No. 4451415
Save Installation Instructions for local electrical inspector's use.
27" (68.6 cm) and 30"
(76.2 cm) Electric Built-in
Microwave/ Oven
Combination
Advertisement
Table of Contents

Summary of Contents for Whirlpool 27"
- Page 1 Installation Instructions Quick Reference Table of Contents: Pages Product dimensions Cutout dimensions Before you start Electrical requirements Installation steps If you need assistance: Check your Use and Care Guide for a toll-free number to call or call the dealer from whom you purchased this appliance.
-
Page 2: Product Dimensions
Product dimensions Before you start... 27” (68.6 cm) oven 30” (76.2 cm) oven Your safety and the safety of others is very important. 28-3/8" (72.1 cm) 25-3/8" (64.5 cm) We have provided many important safety recessed width recessed width messages in this manual and on your appliance. Always read and obey all safety messages. -
Page 3: Electrical Requirements
Electrical requirements Do Not ground to a gas pipe. Connect directly to the fused disconnect WARNING (or circuit breaker box) through flexible, Check with a qualified electrician if you are armored or non-metallic sheathed, copper not sure oven is properly grounded. cable (with ground wire). -
Page 4: Electrical Connection
Electrical connection cable from cable from junction power supply power supply junction WARNING white black wires wires wires wires white wire black wires white and bare Electrical Shock Hazard bare grounding grounding oven wires Disconnect power to the junction box cable wires —... -
Page 5: If Oven Does Not Operate
If you need service: If oven does not operate: Maintain the quality built into your built-in oven by calling an authorized service Check that circuit breaker is not tripped or company. house fuse blown. To obtain the name and number of an See Use and Care Guide for authorized service company: troubleshooting list. -
Page 6: Instructions D'installation
Instructions d’installation Référence rapide Table des matières : Pages Dimensions du produit Dimensions de découpage Avant de commencer Alimentation électrique Étapes de l’installation Si une assistance est nécessaire... Trouvez dans le Guide d’utilisation et d’entretien le numéro à composer (sans frais), ou contactez le concessionnaire chez qui cet appareil a été... -
Page 7: Dimensions Des Produits
Dimensions des produits Avant de commencer... Four de 68,6 cm (27 po) Four de 76,2 cm (30 po) Votre sécurité et celle des autres sont très importantes. Largeur maximum Largeur maximum d’encastrement- Nous donnons de nombreux messages de sécurité d’encastrement- 72,1 cm importants dans ce manuel et au sujet de votre 64,5 cm (25 3/8 po) -
Page 8: Alimentation Électrique
Alimentation électrique Ne pas utiliser une tuyauterie de gaz pour la Raccorder directement l’appareil au coupe- AVERTISSEMENT liaison à la terre. circuit protégé par fusible (ou au tableau de En cas de doute quant à la qualité de liaison à la distribution) au moyen d’un câble flexible à... -
Page 9: Contrôle Du Fonctionnement
Raccordement au câble du circuit d’alimentation câble du circuit d’alimentation circuit électrique boîte de boîte de connexion connexion fils fils blancs fils fils noirs AVERTISSEMENT rouges rouges blanc fils noirs fil blanc et fil fils nus de liaison nu de liaison à la à... - Page 10 Si une intervention Si le four ne d’entretien est fonctionne pas... nécessaire... Déterminer si le disjoncteur est ouvert ou si le fusible est grillé. Contacter une entreprise de service agréée Consulter la section Diagnostic dans le pour maintenir la qualité incorporée à ce four. Guide d’utilisation et d’entretien.


