Advertisement
Advertisement
Table of Contents

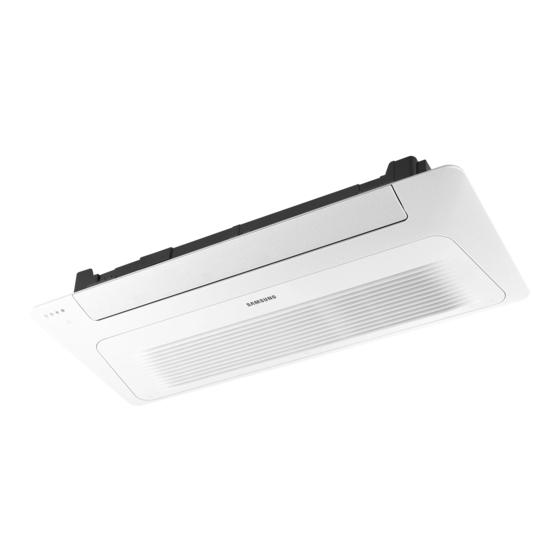
Summary of Contents for Samsung 1 way cassette type
- Page 1 NASA_PANEL_IM_EN_03683A(1).indd 12 2013-01-14 오후 8:35:41...
-
Page 2: Air Conditioner
Panel (1 way / 2 way / 4 way cassette type) Air Conditioner installation manual imagine the possibilities Thank you for purchasing this Samsung product. To receive more complete service, please register your product at www.samsung.com/register DB68-03683A(1) PT DE EL NASA_PANEL_IM_EN_03683A(1).indd 13... - Page 3 For Slim 1 Way cassette PC1NUSMAN Accessories Please check the components below before you install the product. M4x25 Installation Screw Tightening torque bolt manual 12.0 ~ 15.0 1.2 ~ 1.5 kgf•cm N•m After the installation, the installer should explain to users how to use the product.
- Page 4 Connect the cables between the indoor unit and the panel. 4-1 Remove the 3 screws of the electrical component box and take out the electrical component box cover. 4-2 Connect the panel connector to the indoor unit PCB connector. Connect the swing motor of the panel or the connectors of remote controller sensor to each connector of the indoor unit.
- Page 5 For Slim 1 Way cassette PC1NUPMAN Accessories Please check the components below before you install the product. M4x25 Installation Screw Tightening torque bolt manual 12.0 ~ 15.0 1.2 ~ 1.5 kgf•cm N•m After the installation, the installer should explain to users how to use the product.
- Page 6 Connect the cables between the indoor unit and the panel. 4-1 Remove the 3 screws of the electrical component box and take out the electrical component box cover. 4-2 Connect the panel connector to the indoor unit PCB connector. Connect the swing motor of the panel or the connectors of remote controller sensor to each connector of the indoor unit.
- Page 7 For 2 Way Cassette PC2NUSMEN Accessories M4x12 M4x16 Installation User’s bolt bolt manual manual Open the front grille by pushing on both sides and center. Remove the front grille. 2-1 Remove the safety clips. 2-2 Open the front grille about 45° and pull it forward. Fix 2 hooks of the panel on both sides of the indoor unit.
- Page 8 Install the air flow blade. 5-1 Fix the right part of the blade to the indoor unit. If the direction is incorrect, the blade will not be inserted smoothly. Check that prominence of the right side has a small rectangular CAUTION groove.
- Page 9 Push the switch type handles inward and pull the grille to open. • Handles are located on the left and right side of the Samsung logo on the grille.
- Page 10 Hook Install the panel using 2 hooks on the both sides of the indoor unit. Detach the 4 corners of the panel. Use two grooves on the each corner of Groove the panels when pulling them out. • Handle the corner with digital display gently, since there are electrical cables connected to that corner.
- Page 11 For 4 Way Cassette(Continued) Close the electrical component box cover and tighten the screws. Attach and close the front grille. • Make sure the hooks on the rear side of grille fits properly into the grooves on panel ( ) and then push the panel to close ( ...
- Page 12 MEMO NASA_PANEL_IM_EN_03683A(1).indd 11 2013-01-14 오후 8:35:41...


