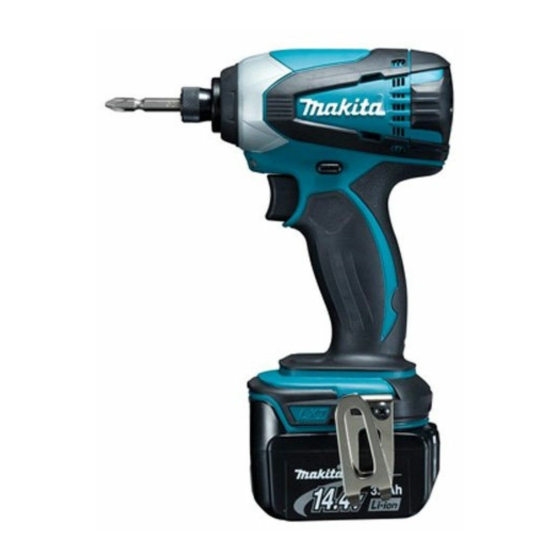
Makita DTD134 Instruction Manual
Cordless
Hide thumbs
Also See for DTD134:
- Instruction manual (108 pages) ,
- Instruction manual (57 pages) ,
- Instruction manual (57 pages)
Summary of Contents for Makita DTD134
- Page 1 INSTRUCTION MANUAL Cordless Impact Driver DTD134 DTD146 012010 IMPORTANT: Read Before Using.
-
Page 2: Specifications
European determined according to EN60745: Directives, on Waste Electric and Electronic Equipment and Batteries and Model DTD134 Accumulators and Waste Batteries and Work mode : impact tightening of fasteners of the Accumulators and their implementation maximum capacity of the tool... -
Page 3: General Power Tool Safety Warnings
EC Declaration of Conformity electric shock if your body is earthed or grounded. Do not expose power tools to rain or wet Makita declares that the following Machine(s): conditions. Water entering a power tool will Designation of Machine: increase the risk of electric shock. - Page 4 15. Dress properly. Do not wear loose clothing or coins, keys, nails, screws or other small metal jewellery. Keep your hair, clothing, and gloves objects, that can make a connection from one away from moving parts. Loose clothes, terminal to another. Shorting the battery jewellery or long hair can be caught in moving terminals together may cause burns or a fire.
-
Page 5: Functional Description
Do not disassemble battery cartridge. FUNCTIONAL DESCRIPTION If operating time has become excessively shorter, stop operating immediately. It may result in a risk of overheating, possible burns CAUTION: and even an explosion. Always be sure that the tool is switched off and the •... - Page 6 When the tool is overloaded: • NOTE: At this time, release the switch trigger, Use a dry cloth to wipe the dirt off the lens of lamp. • remove the battery cartridge and remove Be careful not to scratch the lens of lamp, or it may causes of overload and then pull the switch lower the illumination.
- Page 7 For tool with deep bit hole LED indicator status Remaining battery capacity A=17mm To install these types of bits, follow the procedure (1). B=14mm About 50% or more To install these types of bits, follow A=12mm the procedure (2). About 20% - 50% B=9mm (Note) Bit-piece is necessary for installing the bit.
-
Page 8: Operation
Hook High tensile bolt (kgf cm) 1. Hook 2. Screw (1,224) (M12) (1,020) (816) (M10) (612) 012014 (408) The hook is convenient for temporarily hanging the tool. (M8) This can be installed on either side of the tool. (204) To install the hook, insert it into a groove in the tool housing on either side and then secure it with a screw. -
Page 9: Maintenance
Make sure that the carbon brush caps fit into the holes in brush holders securely. Reinstall the rear cover and tighten two screws securely. To maintain product SAFETY and RELIABILITY, repairs, any other maintenance or adjustment should be performed by Makita Authorized Service Centers, 012019 always using Makita replacement parts. -
Page 10: Optional Accessories
Only use accessory or attachment for its stated purpose. If you need any assistance for more details regarding these accessories, ask your local Makita Service Center. Screw bits • Hook • Plastic carrying case •... - Page 12 Makita Jan-Baptist Vinkstraat 2, 3070, Belgium Makita Corporation Anjo, Aichi, Japan www.makita.com 885243B229...


