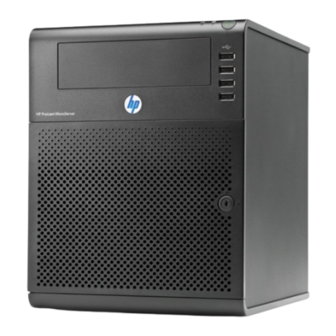
HP ProLiant MicroServer Installation Sheet
Hide thumbs
Also See for ProLiant MicroServer:
- Maintenance and service manual (96 pages) ,
- User manual (94 pages) ,
- Specifications (23 pages)
Table of Contents
Advertisement
Quick Links
Download this manual
See also:
User Manual
Advertisement
Table of Contents

Summary of Contents for HP ProLiant MicroServer
- Page 1 HP ProLiant MicroServer Installation Sheet Part Number 615715-003...
-
Page 2: Rear Panel Components
Item Component Health LED Panel door lock Rear panel components Item Component Item Component Power Supply Outlet PSU Fan PCI Holder PCI Bracket 1 PCI Bracket 2 e-SATA Connector Rear USB 2.0 Ports VGA Port Embedded NIC Port Rear System Fan Kensington Lock Identifying server components System board components... -
Page 3: Memory Configuration
Memory Configuration Item Designator Description The NMI jumper allows a user to inject a Non-Maskable Interrupt event into the system. PCIe x16 slot IPMI slot ODD connector Mini SAS connector Internal USB connector Battery Fan connector TPM connector Front USB header 1 Front USB header 2 Front panel connector Power Supply Unit Cabling... -
Page 4: Opening The Server
Open the panel door before removing or replacing a server component. Use the HP ProLiant MicroServer’s key to unlock the panel door. Open the panel door of the server. If necessary, remove any components or cables that prevent access to the slot. -
Page 5: Hard Drive Installation
4b. Secure the hard drive assembly with four mounting screws. Memory installation guidelines Observe the following important guidelines when installing memory modules: Use only HP supported unbuffered ECC DDR3 DIMM in 1 GB, • 2 GB or 4 GB DIMM capacities. •... -
Page 6: Installing The Power Supply Unit
To simplify the standard power supply unit installation, the user must de-install and re-install the ODD. Use the HP ProLiant MicroServer’s key to unlock the panel door. Open the panel door of the server and remove any components or cables that prevent access to the slot. -
Page 7: Installing The Optical Disc Drive
5b. Slide the ODD module into the chassis. 11. Close the front panel door of the server. 5c. Push the ODD (in the direction shown below) until it clicks 12. Use the HP ProLiant MicroServer’s key to lock the panel door. into place. -
Page 8: Additional Documentation
Fasten the back screw to secure the top panel on the chassis. Close the panel door of the server. 10. Use the HP ProLiant MicroServer’s key to lock the panel door. NOTE: Using ODD or USB Key are customer options for HP ProLiant MicroServer OS installation.


