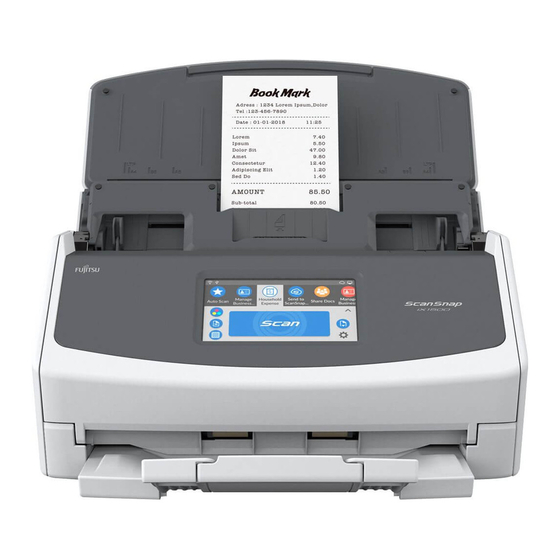
Fujitsu ScanSnap iX1500 Consumable Replacement And Cleaning Instructions
Hide thumbs
Also See for ScanSnap iX1500:
- Basic operation manual (463 pages) ,
- Advanced operation manual (109 pages) ,
- Basic operation manual (514 pages)
Advertisement
Quick Links
Advertisement

Summary of Contents for Fujitsu ScanSnap iX1500
- Page 1 iX1500 Consumable Replacement and Cleaning Instructions CG00002-299901 Revision A...
-
Page 2: Cleaning Materials
iX1500 Daily Care and Consumable Replacement Guide This section describes how to clean the scanner. Do not use aerosol spray or spray that contains alcohol. Paper dust blown up by strong air from the spray may enter inside the scanner which may cause the scanner to fail or malfunction. Also note that sparks generated by static electricity may cause a fire. -
Page 3: Cleaning Procedure
For more Information about the cleaning materials, contact the distributor/dealer where you purchased this product. Or, make an Inquiry by referring to the contact Information at the Contact for Inquiries section In Safety Precautions bundled with this product. Cleaning the Inside of the Scanner Clean the inside of the ScanSnap regularly. - Page 4 (4) Pull the ADF release tab to open the ADF top section. (5) Clean the following parts with a cloth moistened with Cleaner F1, or a cleaning wipe. Brake roller (x2) Remove the brake rollers from the scanner to clean. Gently wipe the dirt and dust off from along the slots on the surface of the brake rollers.
- Page 5 2. Glass (x2) Gently wipe the dirt and dust off the surface of the glass sections. Make sure that it is cleaned properly because dirty glass can cause vertical lines to appear in the scanned image. 3. Ultrasonic sensor (x2) Gently wipe the dirt and dust off the surface of the ultrasonic sensors.
- Page 6 7. Feed-Roller (x2) 8. Exit-Roller (x2) Gently wipe the dirt and dust off while taking care not to damage the surface of the rollers. Make sure that they are cleaned properly because residue on the rollers will affect the feeding performance. (12) Close the ADF top section.
- Page 7 Cleaning the Outside of the Scanner Scanner The scanner including the ADF paper chute (feeder) and the stacker should be cleaned with either a piece of dry cloth, a cloth moistened with Cleaner F1/mild detergent, or a sheet of Cleaning Wipe. ATTENTION ...
- Page 8 Replacing the Consumables This section explains how to replace the consumables for the scanner. The inside of the ADF becomes very hot when the scanner is being used. Before you replace the consumables, make sure to turn off the power, unplug the power cable and wait for at least 15 minutes for the inside of the ADF to cool down.
- Page 9 Before replacing the consumables, check the status of each consumable in the following procedure. (1) Tap in the home screen on the touch panel of the ScanSnap to display the [Settings] screen. (2) Tap to display the [Maintenance] screen. (3) Tap [Check consumable status] to display the [Check consumable status] window. (4) Check the value for [Current Count / Replacement Cycle].
-
Page 10: Installation
(3) Lift the BR-Roller-ASSY on the right side, remove the right-side shaft (①), and pull out the left-side shaft from the slot (②). (4) Remove the BR-Roller-ASSY from the BR-Shaft-ASSY. Installation (1) Insert the protrusion on the BR-Shaft-ASSY into the groove of the BR-Roller-ASSY. - Page 11 (2) Fit the left end of the BR-Shaft-ASSY in the slot (①), then install the rest of the shaft in place (②). ATTENTION Confirm that the brake roller is installed properly. Otherwise, paper jams or other feeding errors may occur. (3) Guide-R-ASSY.
- Page 12 Replacing the Pick Roller (1) Open the ADF top section. (2) Open the Guide-P-ASSY (sheet guide). 1. Slide the side guides all the way. 2. Pull the Guide-P-ASSY (sheet guide) open from the dip. When the ADF is open, it might close accidentally. Be careful not to get your fingers caught.
- Page 13 Installation (1) Insert the left end of the shaft into the slot (①), and lower the other end gradually (②). (2) Rotate the bushing on the Pick-Roller-ASSY in the direction of the arrow (see the lower right figure). ATTENTION Confirm that the pick rollers are installed properly. Otherwise, paper jams or other feeding errors may occur. (3) Close the Guide-P-ASSY (sheet guide).
- Page 14 Notice Make sure that both ends of the Guide-P-ASSY (sheet guide) are locked firmly. (4) Close the ADF top section. Be careful not to get your fingers caught when closing the ADF. Resetting the Number of Consumable Usage After replacing the consumables, reset the number of consumable usage in the following procedure. (1) Tap in the home screen on the touch panel of the ScanSnap to display the [Settings] screen.


