Advertisement
Quick Links
T
ECHNICAL INFORMATION
Model No.
Description
C
ONCEPT AND MAIN APPLICATIONS
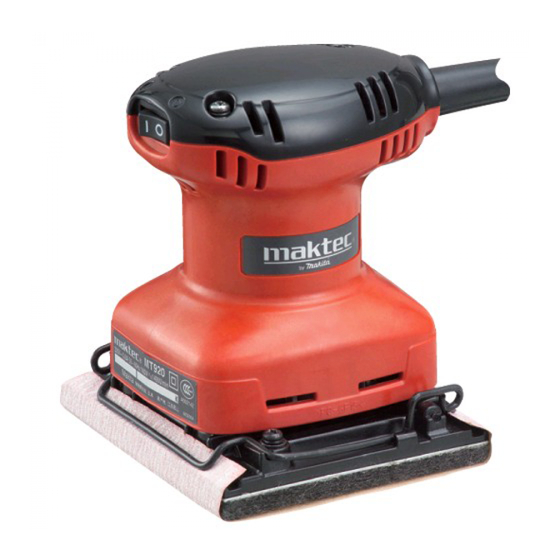
Model MT920 has been developed as the first maktec palm sander, featuring:
Slim grip for easy horizontal and overhead applications
Industrial performance and durability at less expense
S
pecification
Voltage (V)
110
220
240
Pad size: mm (")
Abrasive paper size: mm (")
Orbits per minute: min.
Strokes per minute: min.
Double insulation
Power supply cord: m (ft)
Net weight: kg (lbs)
S
tandard equipment
Abrasive paper 114-60 ....................... 2 pcs
Abrasive paper 114-100 ..................... 2 pcs
Abrasive paper 114-150 ..................... 2 pcs
Note: The standard equipment for the tool shown above may differ by country.
O
ptional accessories
Abrasive paper 114-60
Abrasive paper 114-80
Abrasive paper 114-100
Abrasive paper 114-150
MT920
Finishing Sander
Current (A)
Cycle (Hz)
1.7
50/60
0.9
50/60
0.8
50/60
112 x 102 (4-3/8 x 4)
114 x 140 (4-1/2 x 5-1/2)
= opm
-1
= spm
-1
Continuous Rating (W)
Input
180
180
180
14,000
28,000
Yes
2.0 (6.6)
0.9 (2.0)
PRODUCT
L
H
Dimensions: mm (")
Length (L)
110 (4-5/16)
Width (W)
112 (4-3/8)
Height (H)
133 (5-1/4)
Max. Output (W)
Output
25
50
25
50
25
50
P 1 /5
W
Advertisement

Summary of Contents for Makita Maktec MT920
- Page 1 ECHNICAL INFORMATION PRODUCT P 1 /5 Model No. MT920 Description Finishing Sander ONCEPT AND MAIN APPLICATIONS Model MT920 has been developed as the first maktec palm sander, featuring: Slim grip for easy horizontal and overhead applications Industrial performance and durability at less expense Dimensions: mm (") Length (L) 110 (4-5/16)
-
Page 2: Necessary Repairing Tools
P 2 /5 epair CAUTION: Unplug the machine for safety before repair/ maintenance, in accordance with the instruction manual! [1] NECESSARY REPAIRING TOOLS Code No. Description Use for 1R027 Bearing setting pipe 18-10.2 Removing Armature from Bearing box 1R269 Bearing extractor Removing Ball bearings from Armature [2] LUBRICATION Lubrication is not required for this product because no gear is used for transmission. - Page 3 P 3 /5 epair [3] DISASSEMBLY/ASSEMBLY [Armature] (cont.) DISASSEMBLING 2) Remove four 4x18 Tapping screws. Disassemble Armature from Motor housing together with Bearing box by tapping the end surface of Motor housing with plastic hammer as illustrated in Fig. 4. 3) Disassemble Armature from Bearing box using 1R027 and arbor press.
- Page 4 P 4 /5 epair [3] DISASSEMBLY/ASSEMBLY [Armature] Fig. 8 ASSEMBLING Do the reverse of the disassembling steps. drive-end of Note: Washer 9 is not reversible when assembled to Armature shaft the drive-end of Armature shaft. Be sure to place its convex side on Fan 65 side Washer 9 as illustrated in Fig.
-
Page 5: Circuit Diagram
P 5 /5 ircuit diagram Fig. 9 Color index of lead wires' sheath Switch Black White Field Terminal block Noise suppressor* *Noise suppressor is not used Blue for some countries Power supply cord for some countries. Brown for some countries iring diagram Route Lead wires as illustrated in Fig.


