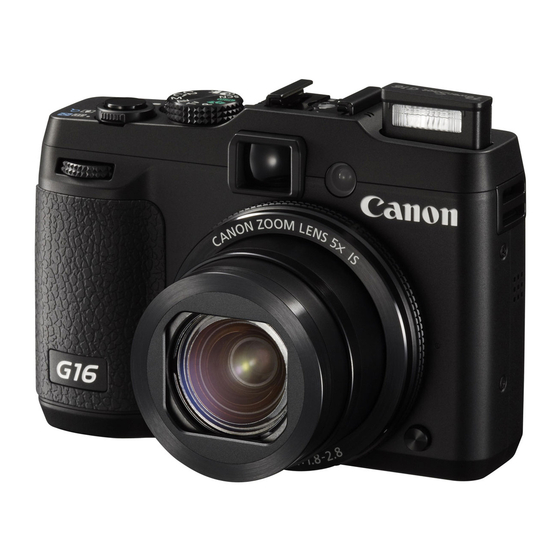
Summary of Contents for Canon PowerShot G16
- Page 1 PowerShot G16 Sending still images and movies between two Canon-brand cameras (Wi-Fi function)
- Page 2 You can connect two cameras via Wi-Fi and send images between them as follows. NOTE • Only Canon-brand cameras equipped with a Wi-Fi function can be connected to wirelessly. Even Canon-brand cameras that support Eye-Fi cards cannot be connected to if they do not have a Wi-Fi function. You cannot connect to PowerShot SD430 DIGITAL ELPH WIRELESS/DIGITAL IXUS WIRELESS cameras with this camera.
- Page 3 Press the <FUNC./SET> ( ) button, enter a nickname using the keyboard. This nickname will appear on other devices on the wireless LAN when connecting from them. 3. Press the < >< >< >< > buttons to choose ( ), and then press the <FUNC./SET> ( ) button.
- Page 4 4. Press the < >< > buttons to choose [Add a Device], and then press the <FUNC./SET> ( ) button. NOTE • If you register a camera, that camera's name will appear on the screen in step 4. From the second time onward, select the camera's name to make the connection.
- Page 5 6. Once both cameras are connected, a screen like the one below will appear. NOTE • Once you have connected to devices via Wi-Fi, recent destinations will be listed first when you access the Wi-Fi menu by pressing the < >button. You can easily connect again by pressing the <...
- Page 6 NOTE • You can choose the resolution (size) of images to send by pressing the < >< > buttons. • Movies cannot be resized. 8. The following screen appears. After sending images to the target camera, [Transfer completed] will be displayed, and the camera returns to the screen shown in step 7.
- Page 7 10. The following screen appears. Press the < >< >< >< > buttons to choose an image to send, and then press the <FUNC./SET> ( ) buttons.( ) will be displayed. To cancel selection, press the <FUNC./SET> ( ) button again. ( ) is no longer displayed.


